


This video shows a few basic operations such as linking a database, committing/applying changes and reviewing the commit history.
Transcript
Hello and welcome to another ApexSQL Source Control video presentation.
In this video we’ll show how to link a database to a repository and perform some very basic operations such as committing changes, getting the latest version of an object from the repository and applying it against a database and reviewing the commit history.
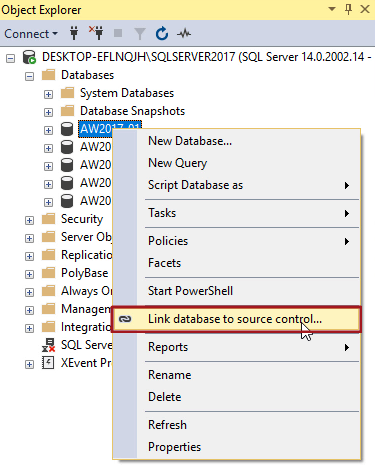
The first step is to link a database to a repository. In order to do that right-click a database in the Object Explorer pane and choose the Link database to source control command.
This initiates the Source control setup that will help in choosing the source control system, development model, as well as specifying database objects to be version controlled. ApexSQL Source Control supports some of the most popular source control systems, such as Git, TFS, Subversion, Mercurial and Perforce. For the purpose of this video a TFS repository will be used.
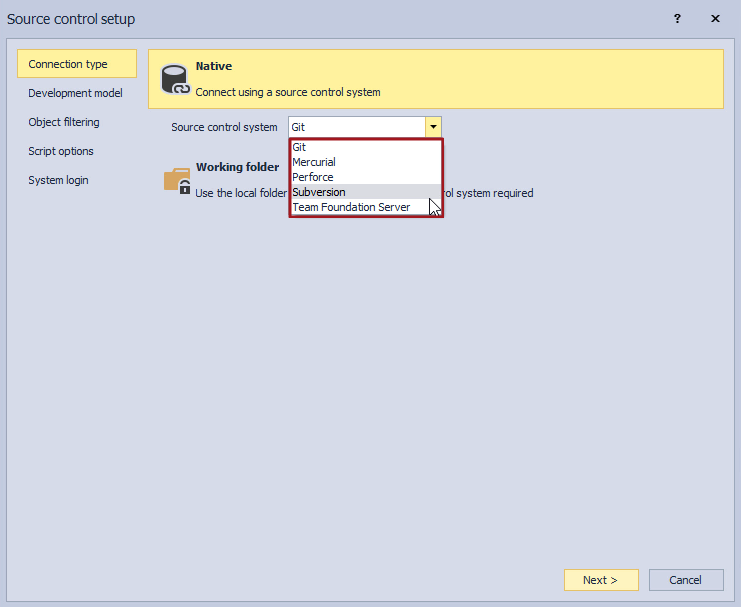
After selecting the TFS from the list we’ll click the Next button to advance to the next step.
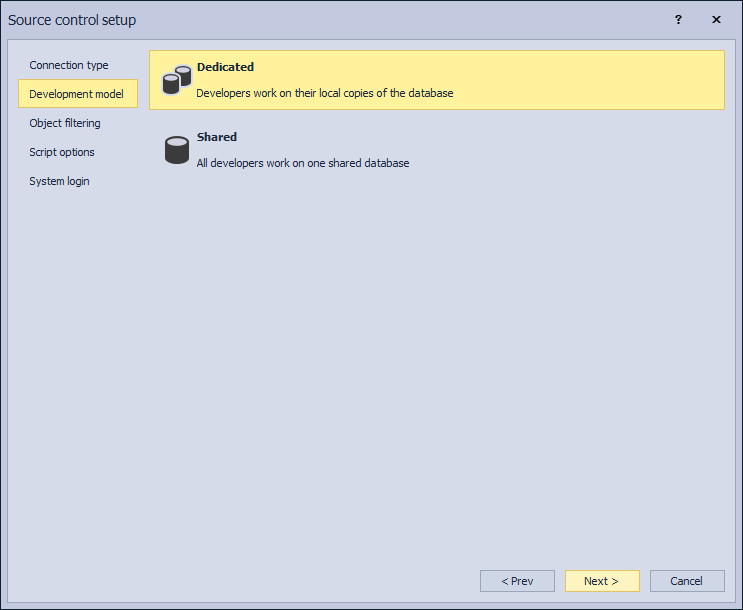
In the next tab, the Development model tab, we can choose between the dedicated and the shared development model in which the database will be linked to the source control repository. We will choose the dedicated development model and click the Next button.
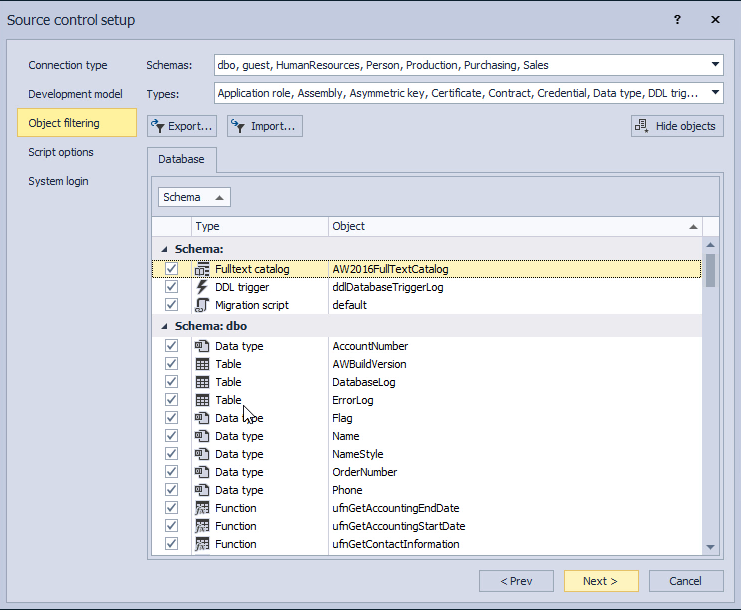
The next step is the Object filtering step, where the user can choose the SQL database objects that will be version controlled. Objects can be filtered by schema or object type. In addition to this, by clicking the Show objects button any individual object can be excluded from being version controlled just by unselecting the appropriate checkbox. For the purpose of this video all objects will be included.
The final step of the Source control setup requires the user to specify credentials for the repository as well as the URL of the repository. In addition, a database can be linked to the specified folder inside the repository using the folder option. In this video TFS repository is hosted on Visual Studio online and a database will be linked to the StoresDB folder created inside the repository. After clicking the Finish button, ApexSQL Source Control scripts all previously selected objects, compare those objects with the repository and shows the comparison result in the Action Center tab, which is the main communication channel between the local database and the repository.
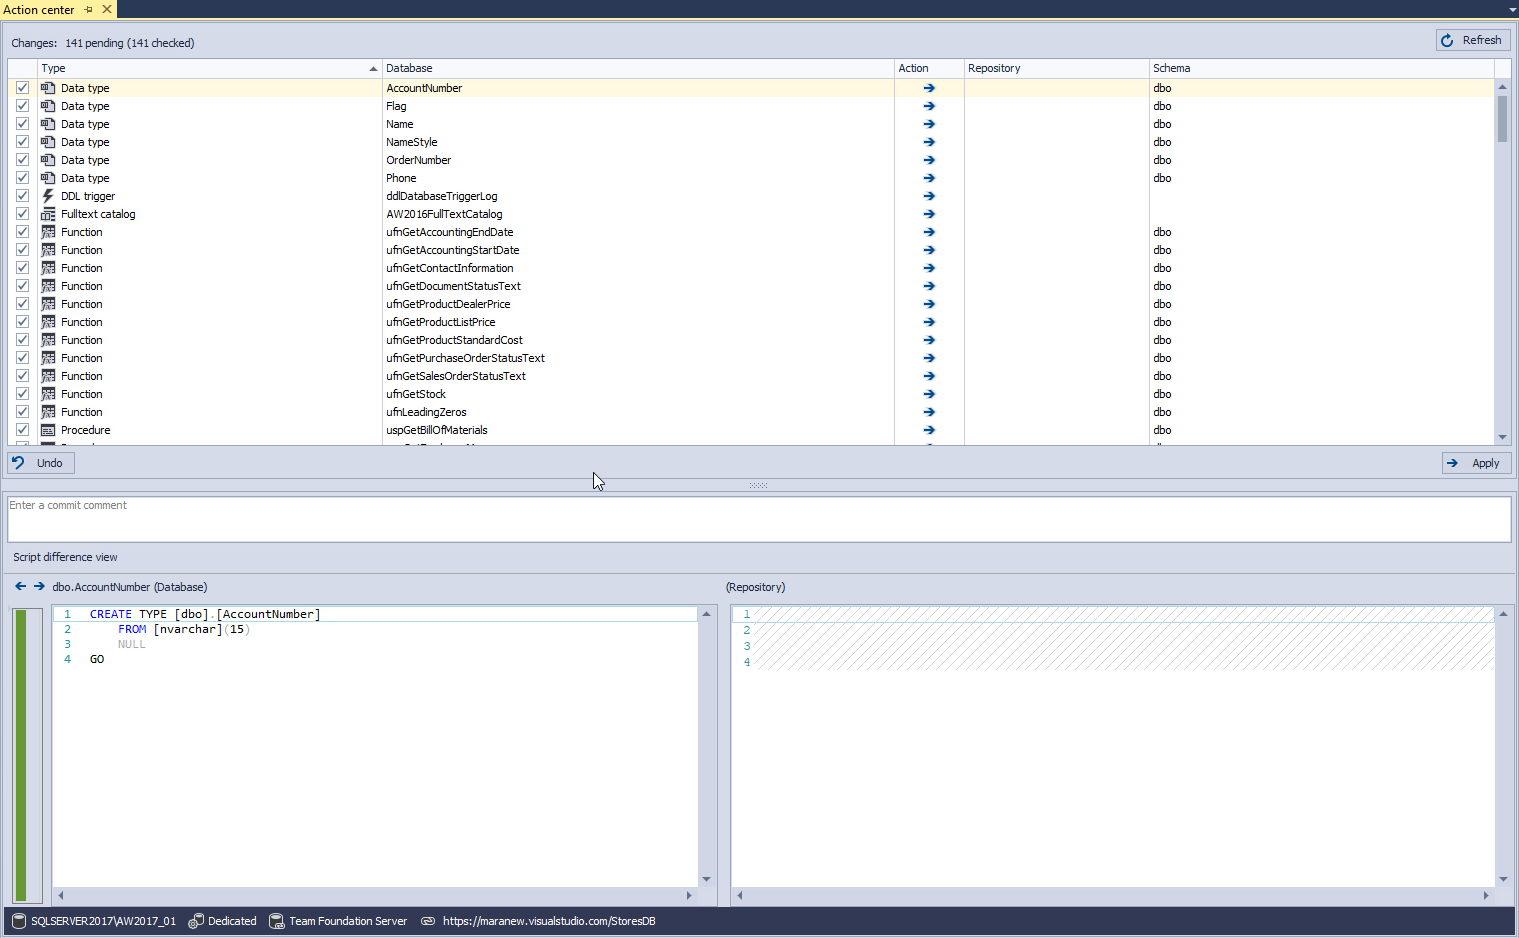
The left side of the Action Center tab shows the current state in a database and the right side shows the current state on the repository. Since a database is linked to an empty repository the right side shows no objects at this point. By default, after linking a database on an empty repository Apex SQL Source Control will check all objects in the Action Center tab represented by the blue arrow. At any point the action can be switched from commit to get just by clicking the blue arrow for the appropriate object. This means that the latest state of the selected object will be applied from the repository against a database.
For now, we’ll leave all objects to be initially committed to the repository. Before committing we’ll provide a commit message and click the Apply button to perform the commit operation.

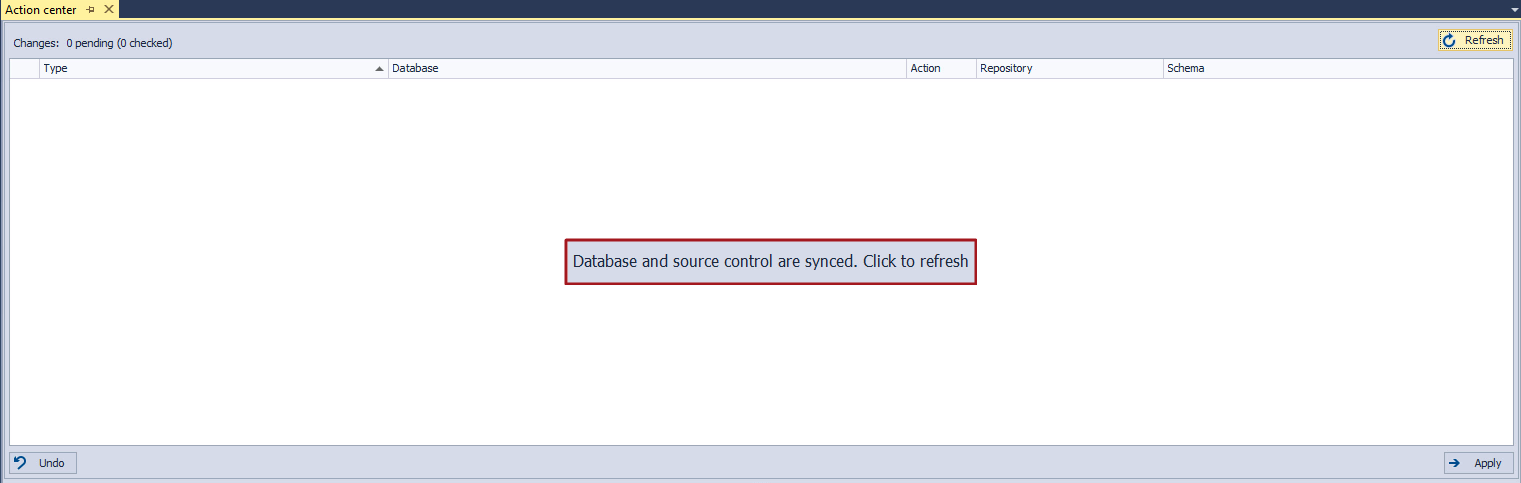
Clicking the Apply button will simply upload the selected objects to the repository and ApexSQL Source Control will re-compare a database with the repository and if everything is properly committed the message will appear showing that the database in the repository are synced.
From this point your database is under source control and any additional changes will be detected by the add-in and shown in the Action Center tab with a possibility to commit or rollback the specific change. Let’s make some changes to demonstrate this. Once the add-in detects changes the message in the Action Center tab will be changed.
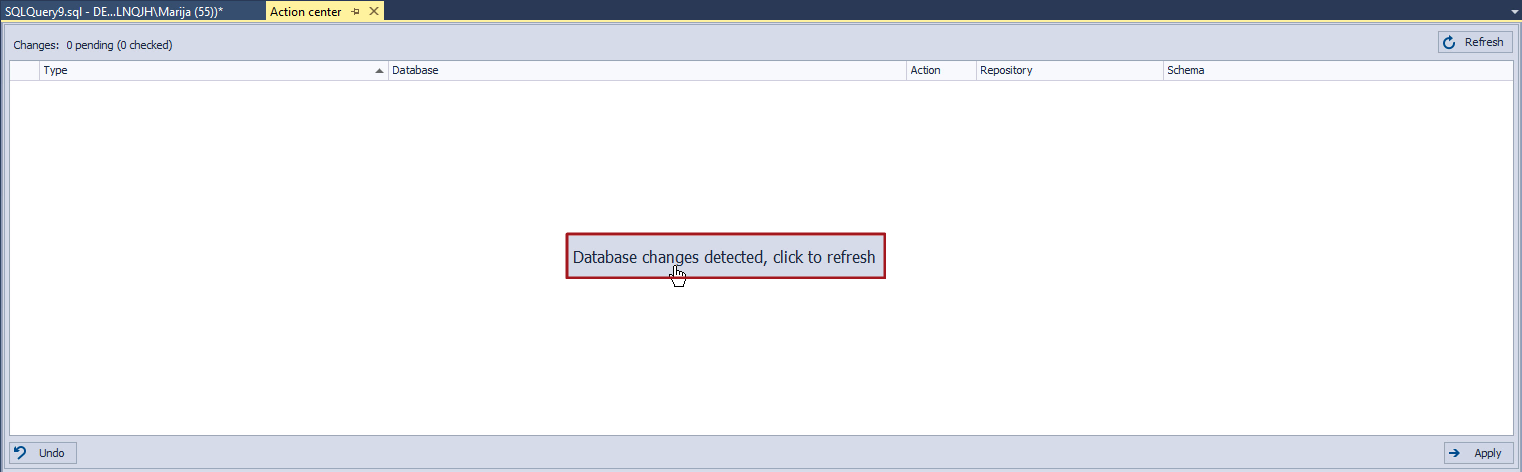
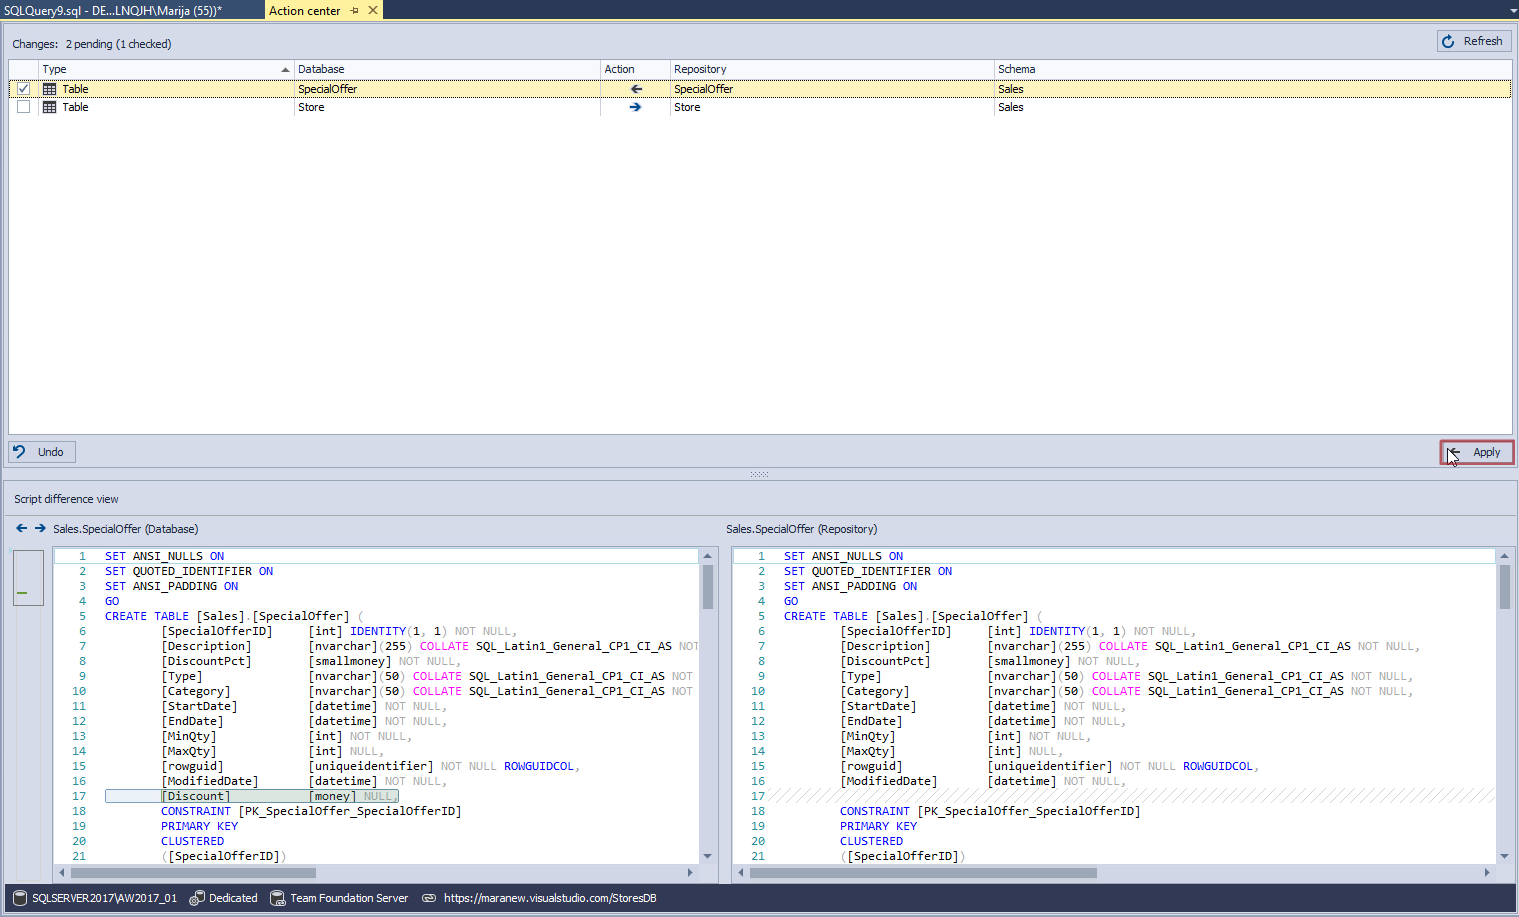
After refreshing the Action Center tab, the list of changes will be shown. The exact changes will be available in the Script differences view section.

Let’s commit one change in the same way we did for the initial commit. We’ll select it, provide the comment and press the Apply button. The second change is the one we don’t want to commit, so we’ll simply change the action and click the Apply button.
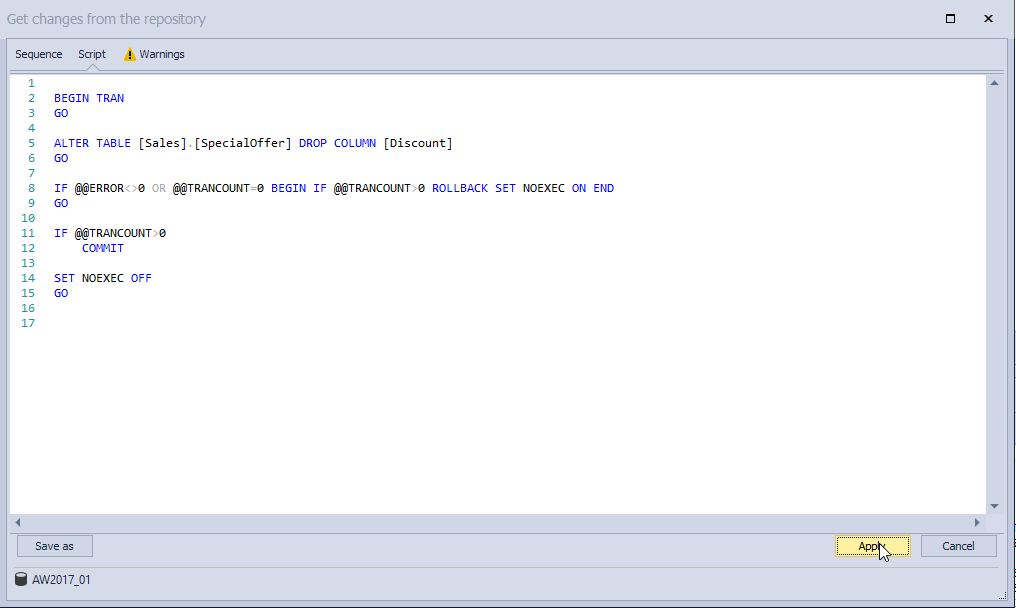
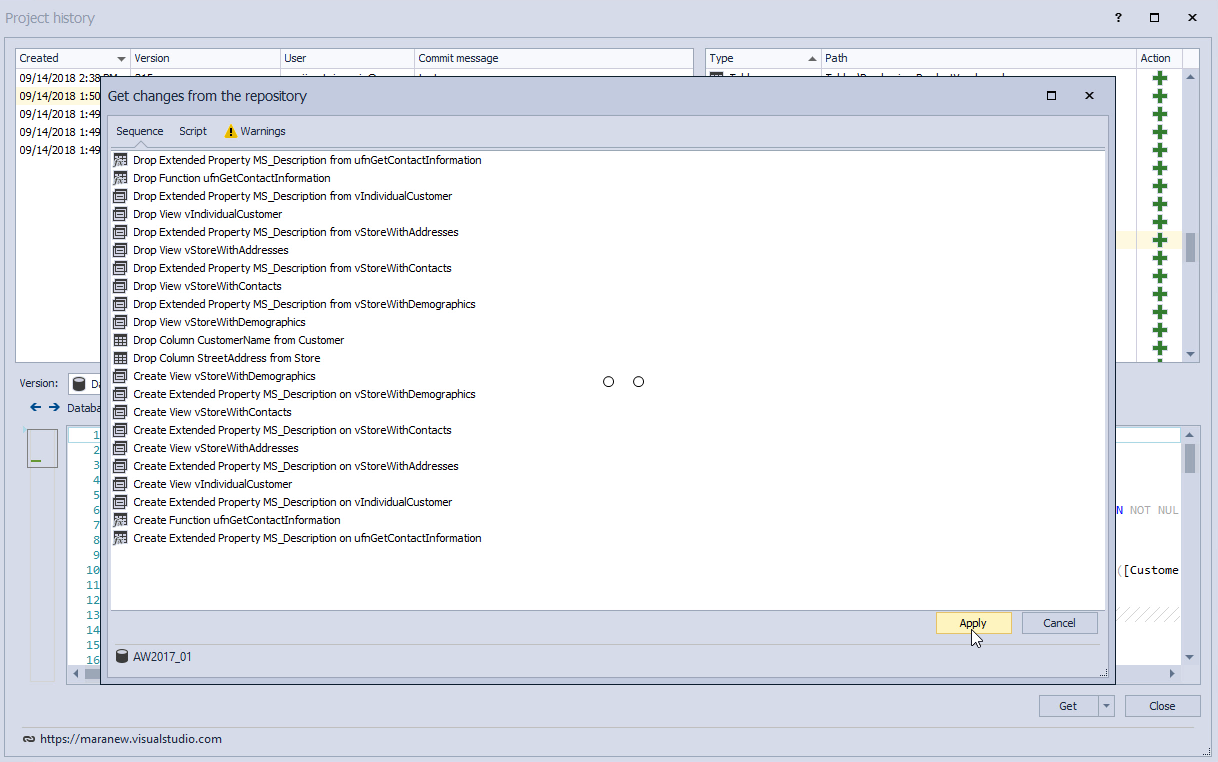
Each time the user wants to apply any change from the repository against a database the Get changes from the repository form will be initiated showing the exact list of action along with the SQL script that will be executed against database and any warnings. The script can be reviewed edited or saved for later usage. For now, we just want to apply the latest change, so let’s click the Apply button.
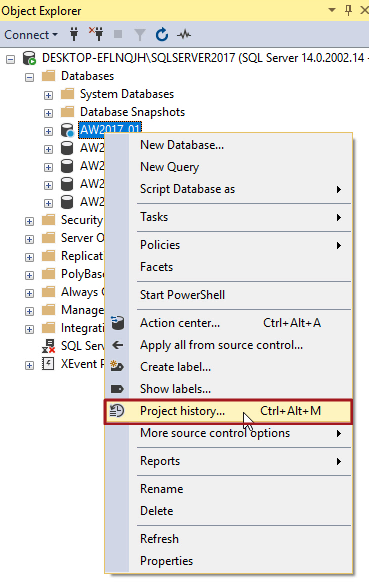
Let’s check the history of committed changes. To do so right click the link database in the Object Explorer and select the Project history option.
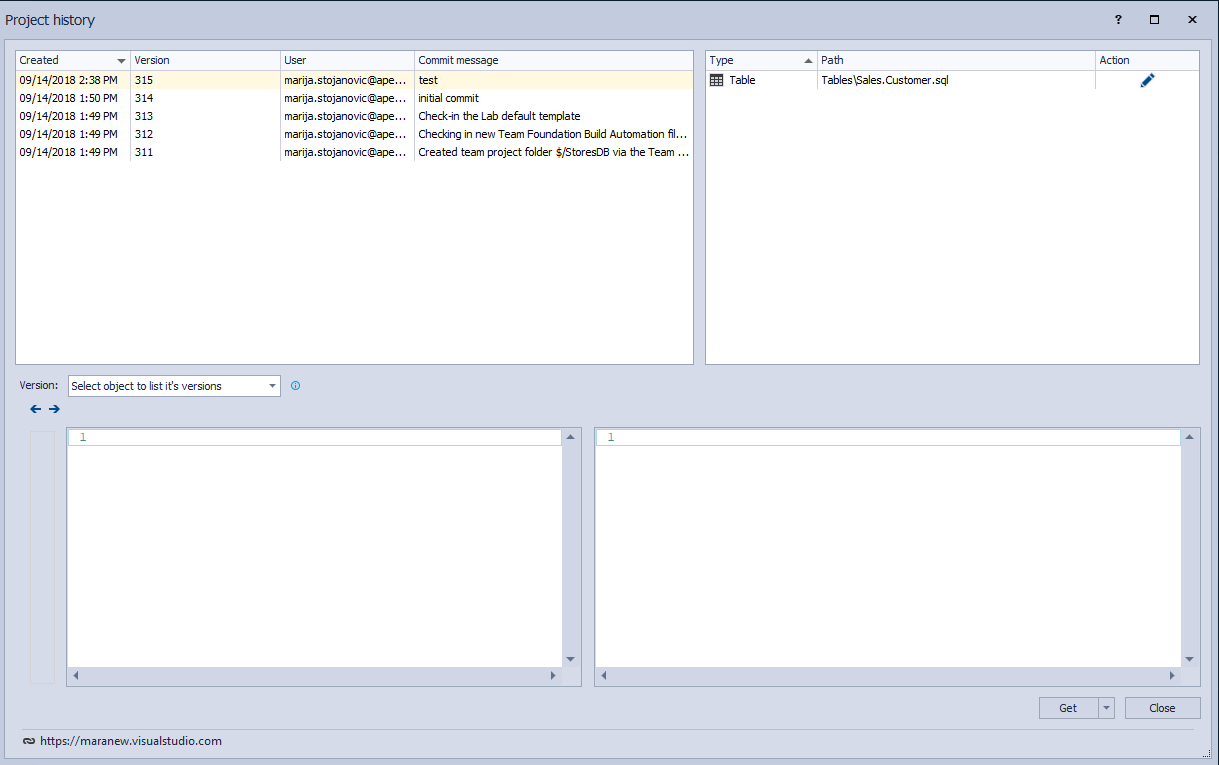
This initiates the Project history form. In the upper left section, a list of committed changesets will be shown along with the exact user who perform the commit and the timestamp of the commit. Selecting any changeset, gives a list of objects committed in that changeset and selecting any object from the changeset shows the version of an object from that changeset in the bottom right section.
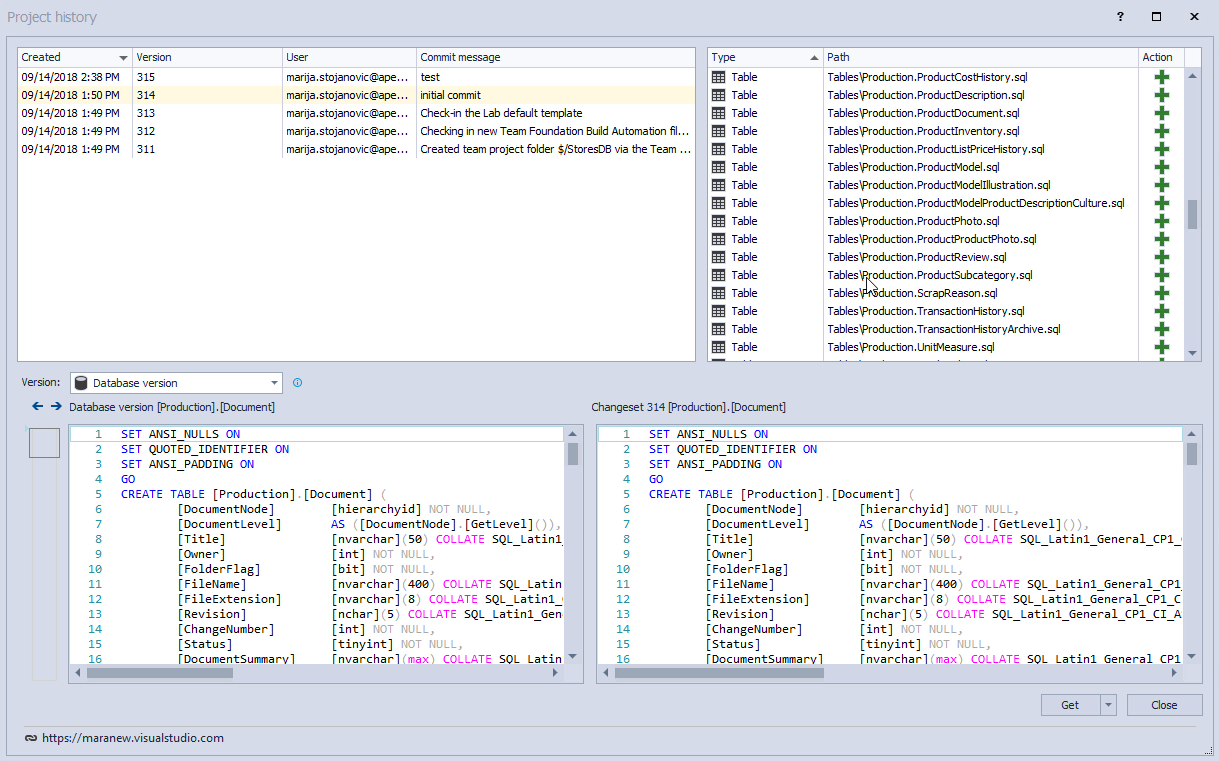
The user can choose any version of the selected object that will be compared with the previously selected version of an object. For instance, let’s compare the version of the Sales.Customer table
that we have recently changed between the initial commit and the current state in a database. To apply version of the customer table from the selected changeset in this case the initial commit will click the Get button.
The Get changes from the repository form that we previously explained will appear, so we can apply the selected change and close the Project history form. This way any change made against the database can be easily committed to the repository or the current state in the database can be overridden with the latest version of an object from the repository or any other version from the commit history.
Thanks for watching. For more information please visit www.apexsql.com


