


In this article, we will take an overview of some main features in ApexSQL Job.
Transcript:
Hello, and welcome to this introduction of ApexSQL Job. ApexSQL Job is a powerful application used to manage and automate SQL Server Agent jobs. Its wide range of features allows users to manage SQL Server schedules, define and manage SQL Server job alerts, view detailed job history, monitor SQL Server Agent logs and export job details to various file formats.
In this video, we’ll demonstrate some of its features and capabilities.
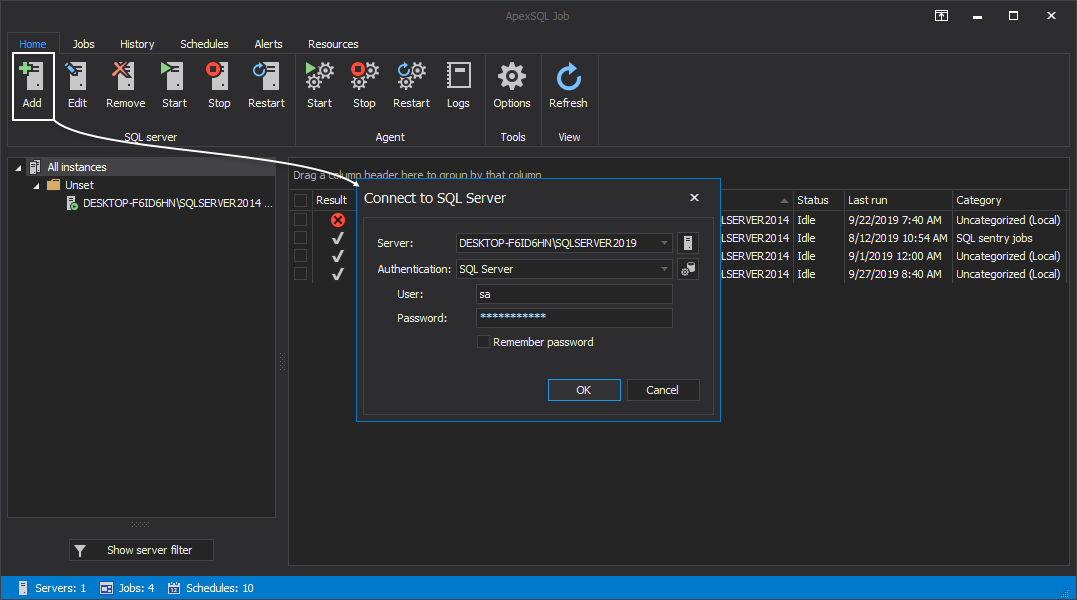
To begin, let’s connect to a SQL Server instance by clicking on the Add button in the Home tab and selecting the instance from the Serverdrop down list.
Choose the authentication type, enter the credentials and click OK:
Then, select a custom folder for the newly added SQL Server or add it to an existing one:

To add more SQL Servers, click on the Add button again and repeat the same steps.
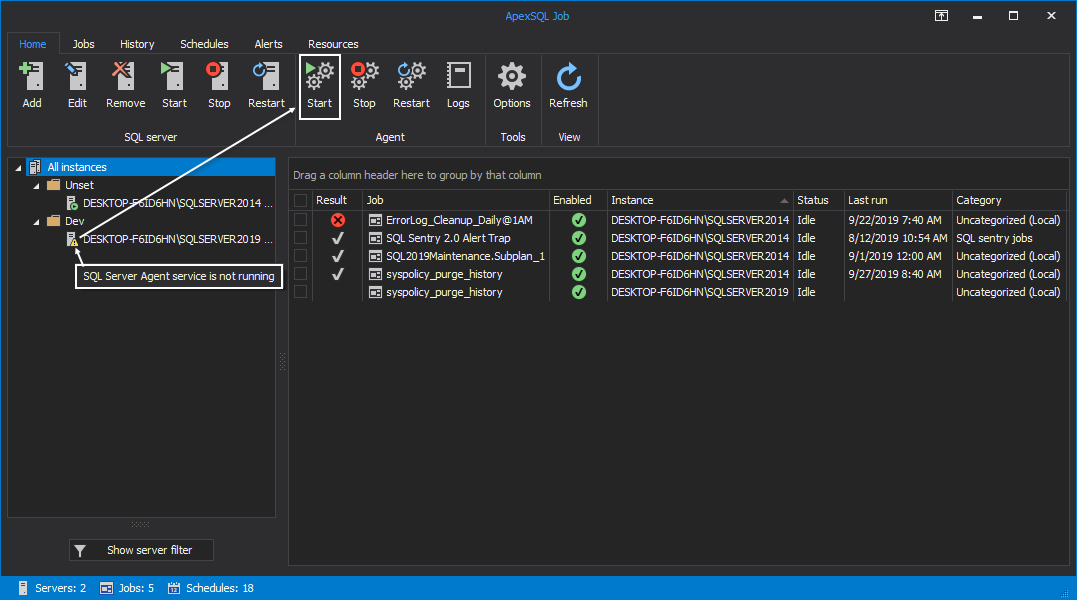
Now, check to see if its Agent service is up and running. A yellow triangle on the icon indicates the service is not running. To start it, click on the Start button in the Home tab:
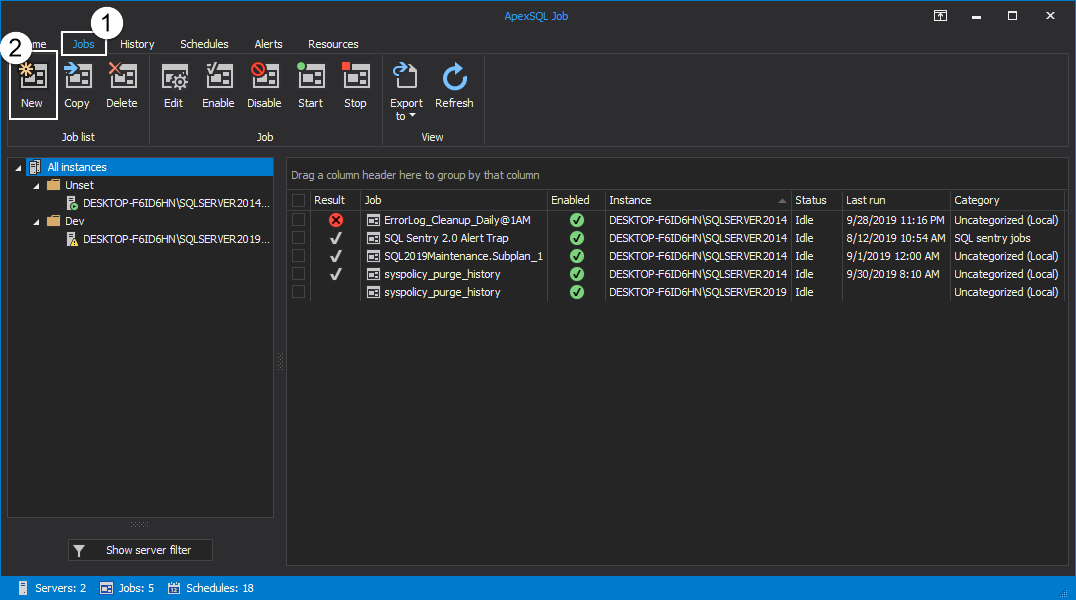
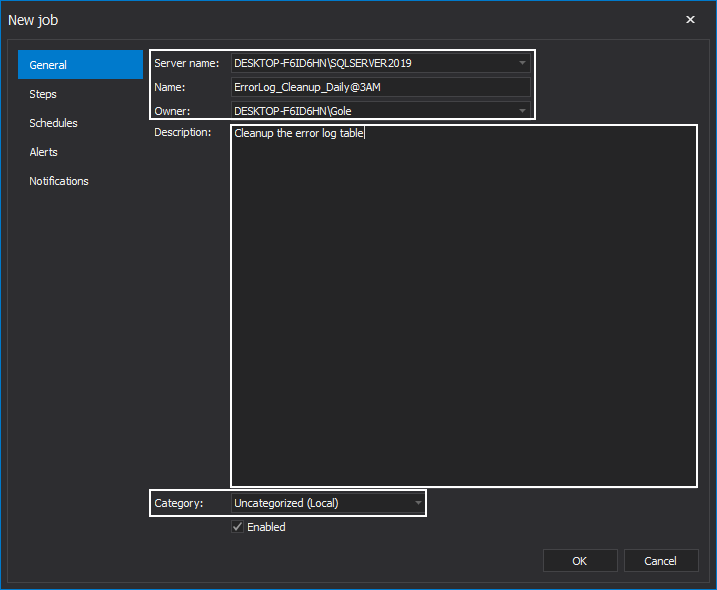
Let’s create a new job by clicking on the New button under the Jobs tab. This will open the New Job wizard:
In the New Job wizard, under the General tab, choose the preferred SQL Server where you want to create the job. Provide a name for the job, select its owner, and optionally provide a meaningful description of its functionality. Additionally, choose a category for the job:
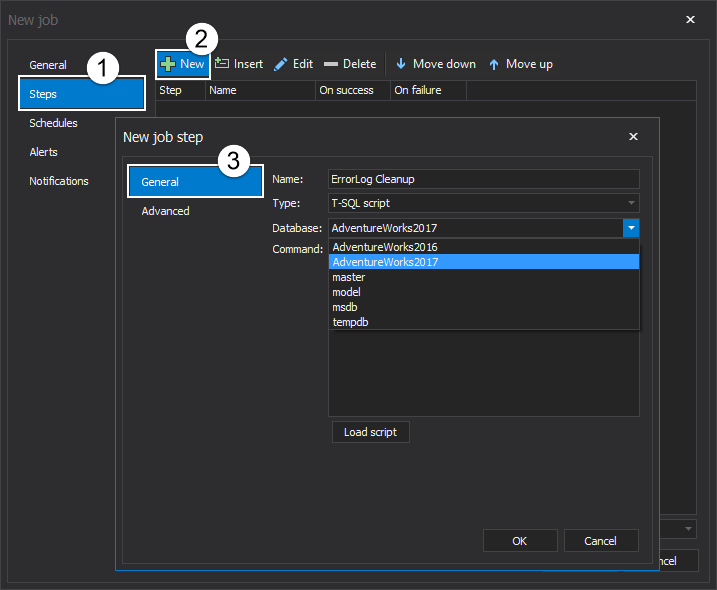
Move down to the Steps tab of the New Job wizard.
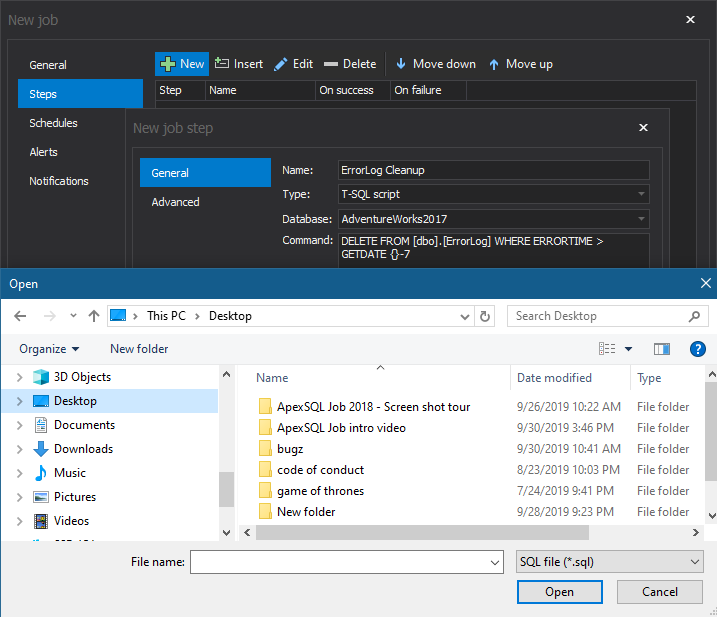
Here add a new step to the job by clicking on the New button. In the New job step window, provide a name for the step. We recommend using a name that describes the step’s functionality. Also, select a step type among the twelve different types of tasks offered in the drop-down list. Choose the database on which to perform this job step and write the command directly in the Command box. Additionally, there is the option to load a prepared script directly from its folder:
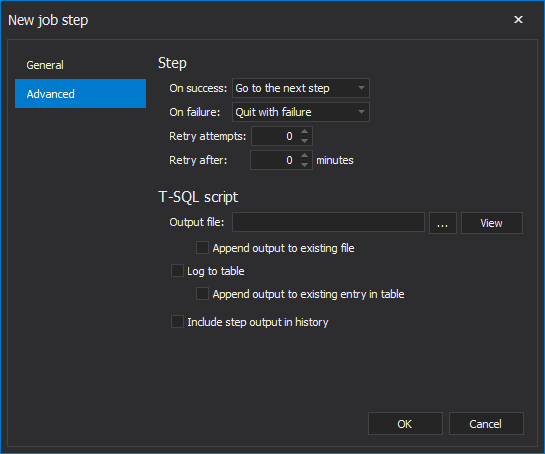
Still within the New Job wizard, go to the Advanced tab to further tune the job step settings.
Here, control the action that will be taken when the step is either completed successfully or fails. In case of failure, specify the number of retries and elapsed time between retries.
You may also choose where to write the output of the step execution:
Click OK to complete step creation.
To create more job steps, click on the New button again and repeat the same steps.
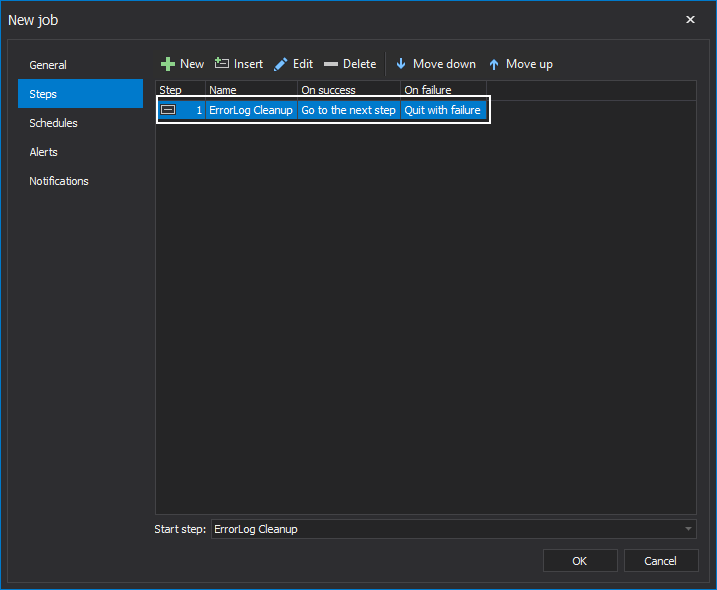
The created job step will appear in the steps list, where can be further edited, deleted and moved up or down on the list:
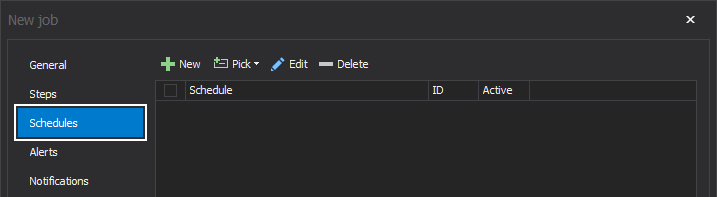
The next step now would be to set a schedule time for our job, which will specify when and how frequently the job will be executed. To create a new schedule for a specific job, click on the Schedules tab on the left side of the New job wizard:
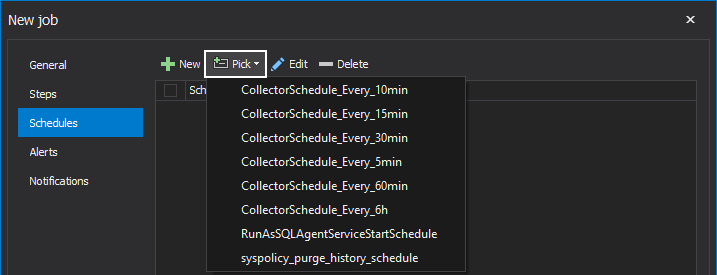
Here, we could create a new, custom schedule or select an already-created one by clicking on the Pick drop-down button:
Let’s now click on the New button to open the New job schedule window and go through its creation steps:
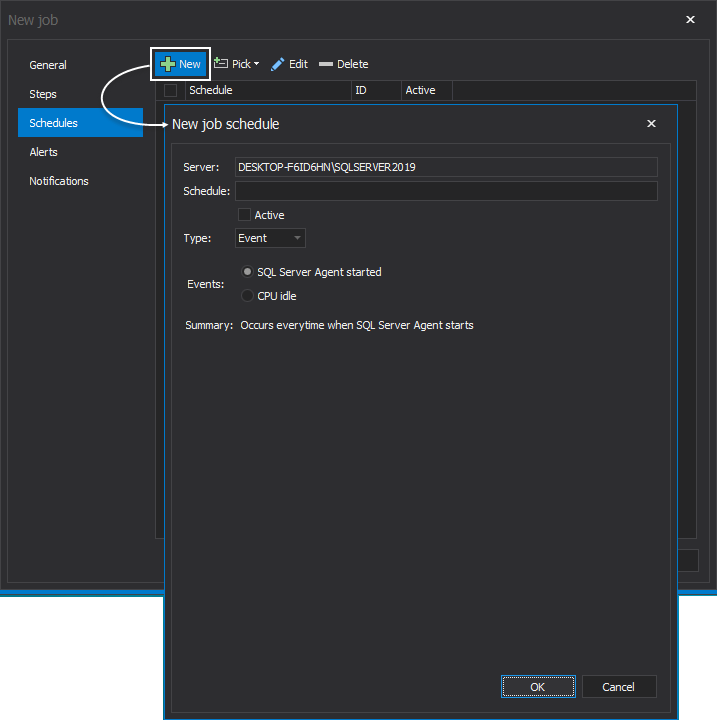
The New Job schedule window allows you to specify when and how frequently the job will be executed. After entering a descriptive name for the schedule, select a type of schedule – either Event or Time. Event is selected by default:
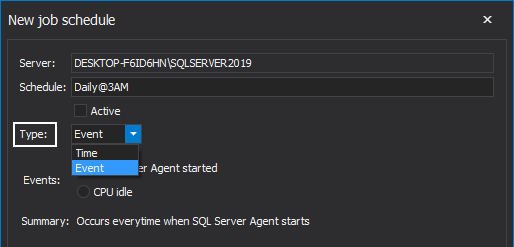
The Event schedule type indicates that the job will be triggered as a response to a specific event. One out of the two types of event can be selected in that case the job could start when the SQL Server Agent starts or when the CPU is in idle state. Selection of either of those two directly affects the Summary:

If the Time is selected as the schedule type, set the desired job frequency in the Frequency area. Choose the job recurrences and job start and end dates. Chosen schedule parameters can be seen in the Summary section:

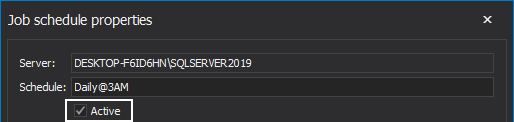
The Active checkbox must be marked in order for the selected schedule to become active upon its creation. Click OK to finish setting the schedule:
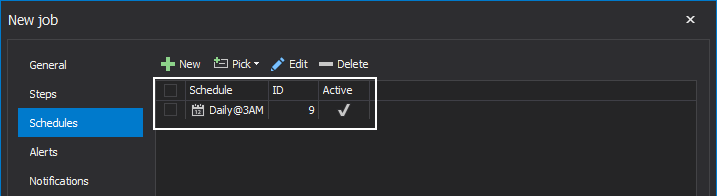
Once the new schedule for the job is created, it is shown under the schedules list where it can be edited or deleted at any time by clicking on the Edit or Delete buttons respectively:
Once the job schedule is set, the next focus of job creation is setting job alerts. These can be accessed by clicking on the Alerts tab in the New job wizard.
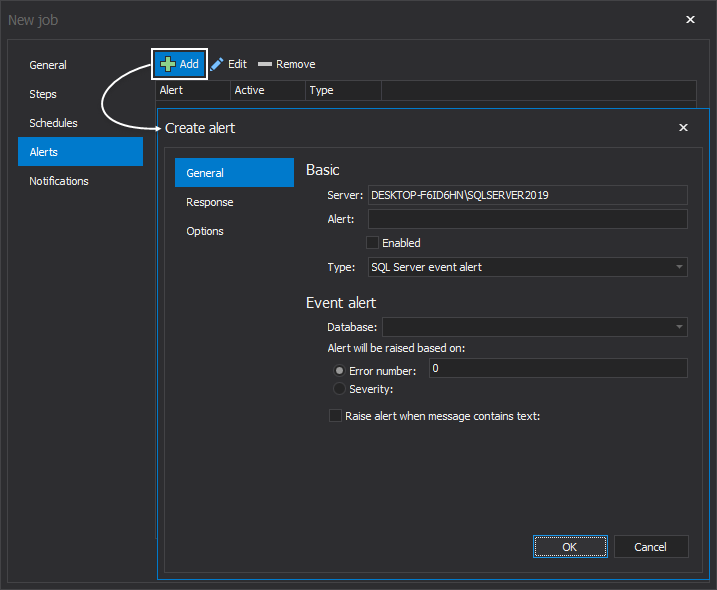
Click on the Add button to create a new alert:
There are three types of alerts that can be created in the SQL Server Agents:
- SQL Server Event Alert: This alert is fired when an event with a specific error number or error severity level occurs
- SQL Server Performance Condition Alert: This alert is fired when a specific performance counter exceeds, equals or falls below a predefined threshold value
- WMI Event Alert: This alert is fired when a specific Windows Management Instrumentation (WMI) event occurs
ApexSQL Job allows the user to create all three mentioned SQL Server Agent Alert types:
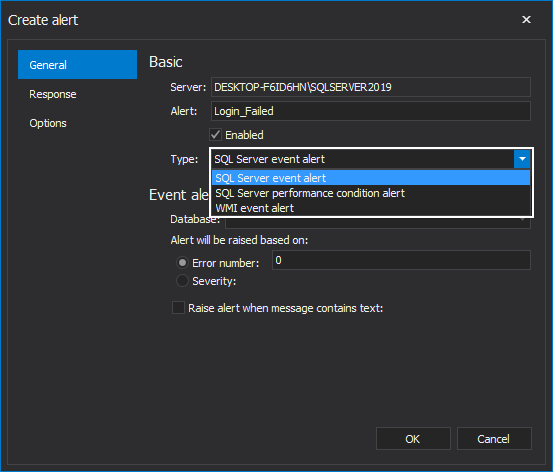
Each alert type has its own configuration settings. For this demo, we will focus only on the SQL Server event alert type, which is chosen by default.
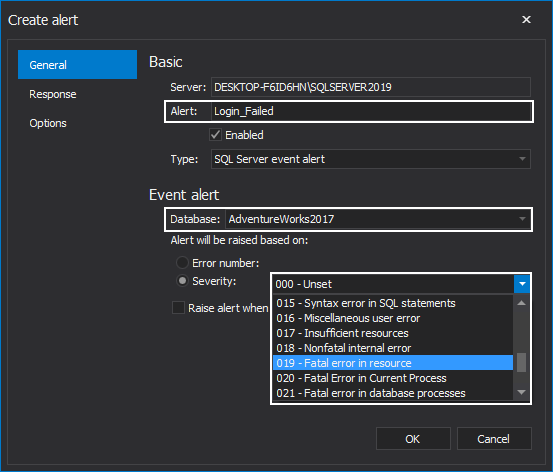
When SQL Server event alert is selected, you must specify the following settings: the alert name, the database to which the alert will apply and whether it should fire in response to a specific SQL Server error number or error severity level:
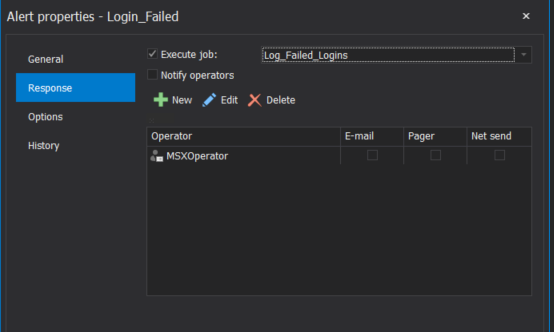
The next step in creating an alert is to specify the action that should be performed as a response to the event.
In the Create Alert window, click on the Response tab on the left to configure the response type.
There are two types of responses for an event:
- Execute job: Select which SQL Server Agent job will be executed in response to the event
- Notify operators: Provide a predefined operator or create a new operator to notify when the alert event occurs
Click OK to finish setting the alerts and responses:
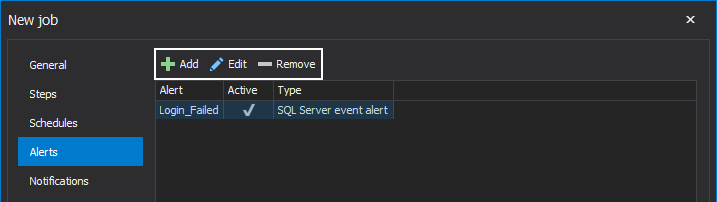
Newly created alerts can be edited or removed from the alerts list.
Also, new alerts can be easily created in the already described manner by clicking on the Add button:
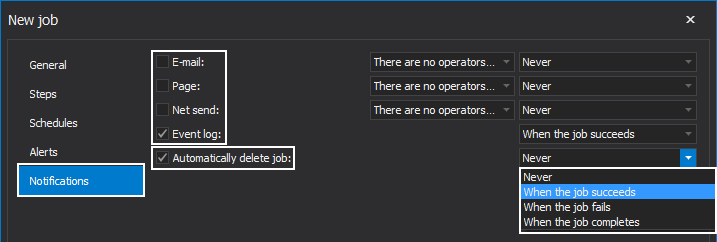
Finally, under the Notification tab of the New job wizard, we can specify the notifications we’d like to receive for the job results. You can choose to be notified when the job succeeds, fails, or completes. We can elect to be notified by a specific operator, such as email, page or net send, or we can elect to simply have a record written in the event logs.
There is also an option to automatically delete the job upon its completion:
Click OK at the bottom to execute or schedule the job:

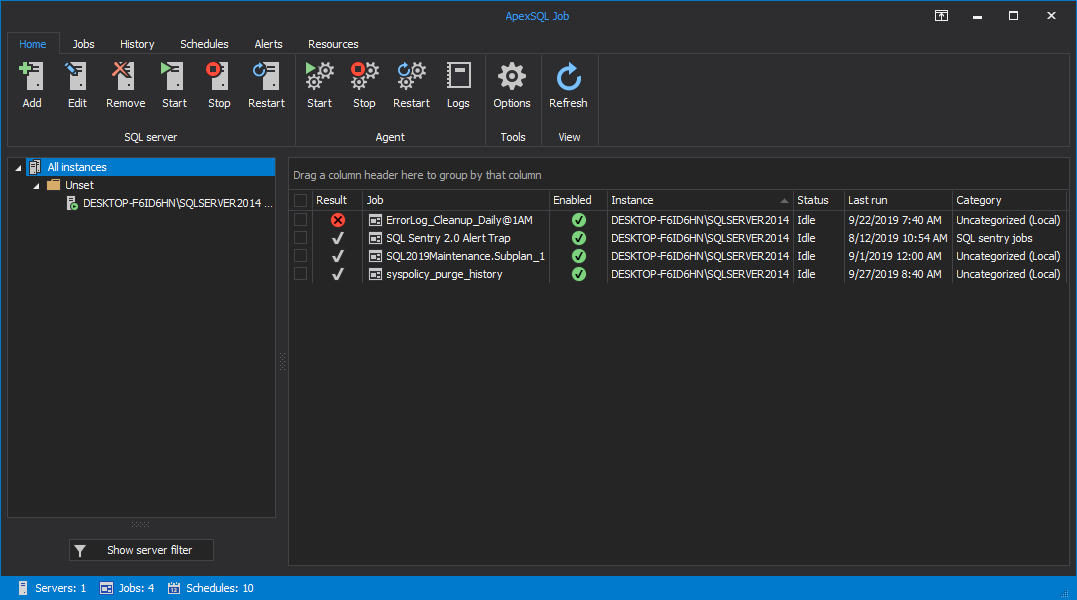
When the job is successfully created, it is displayed in the main grid. Grid columns present the job details, including result and time of its last execution, job name, SQL instance it belongs to, its status and category:
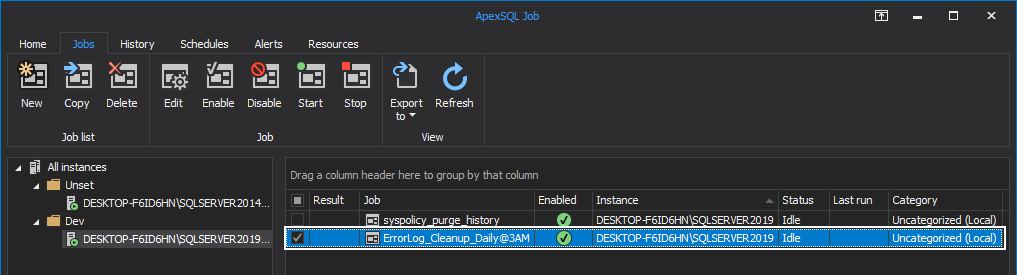
From this grid, you can copy the job to another SQL Server; delete, enable, disable or start it; or stop the currently running job by clicking the appropriate button:
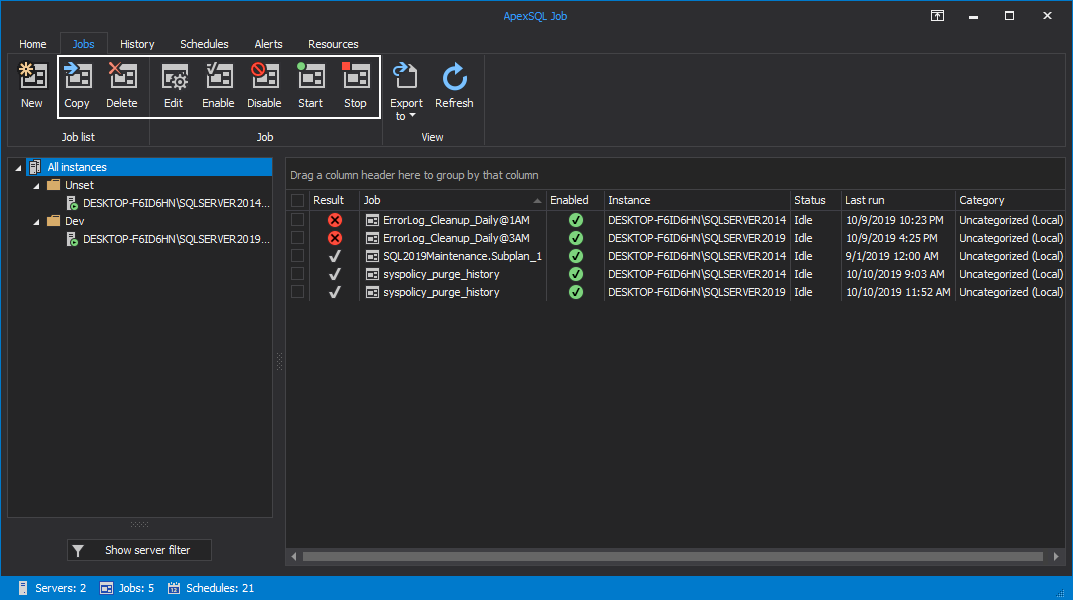
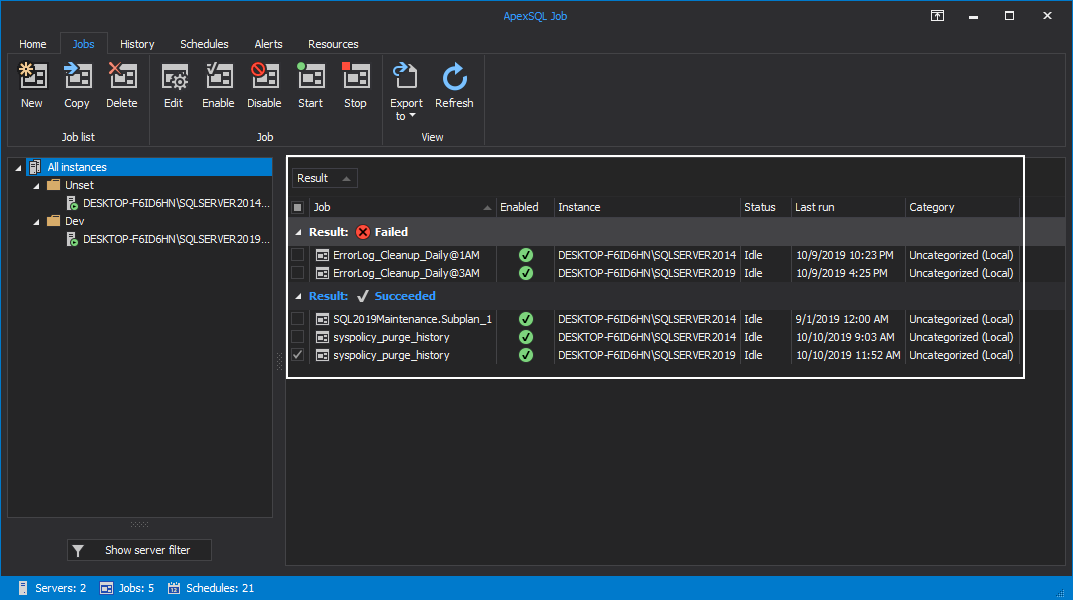
Job data can be filtered by any SQL Server instance and then grouped by the grid columns. Select a SQL Server instance from the server panel on the left to see only its jobs, or click on All instances to include all the jobs of all the SQL Server instances. Once that selection is being made, choose the desired grid column to group the data:
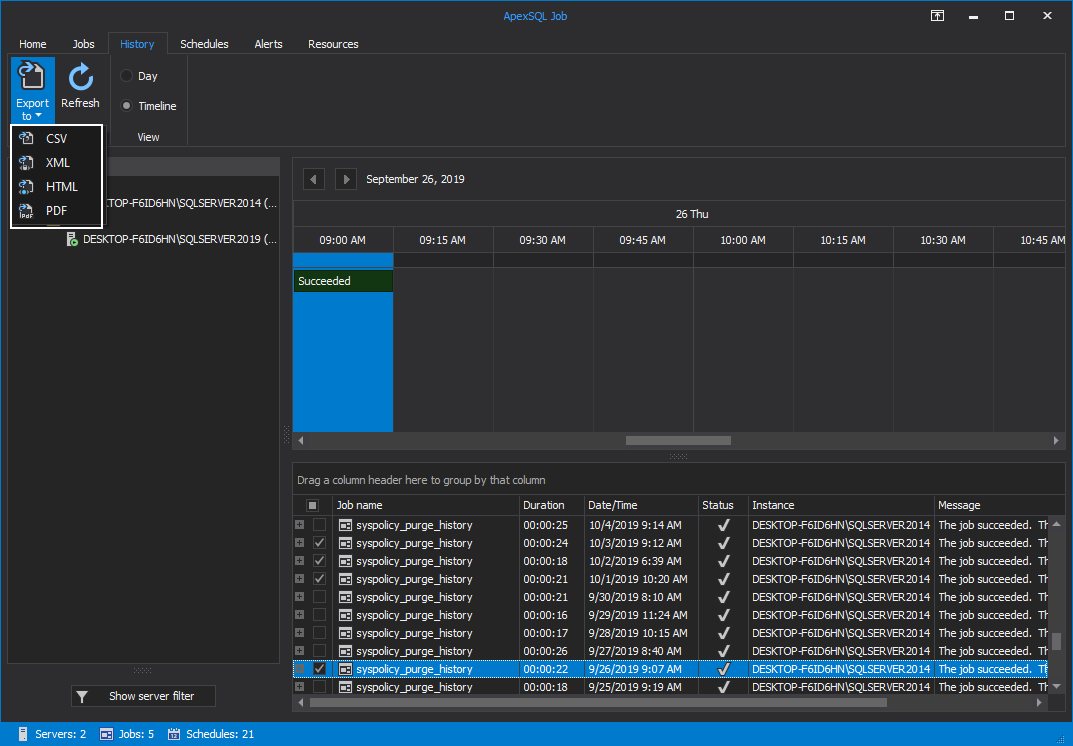
Additionally, you can export data to CSV, XML, HTML or PDF file formats. To export reports to PDF format, make any selection of jobs from the grid, click on the Export to button and select PDF:
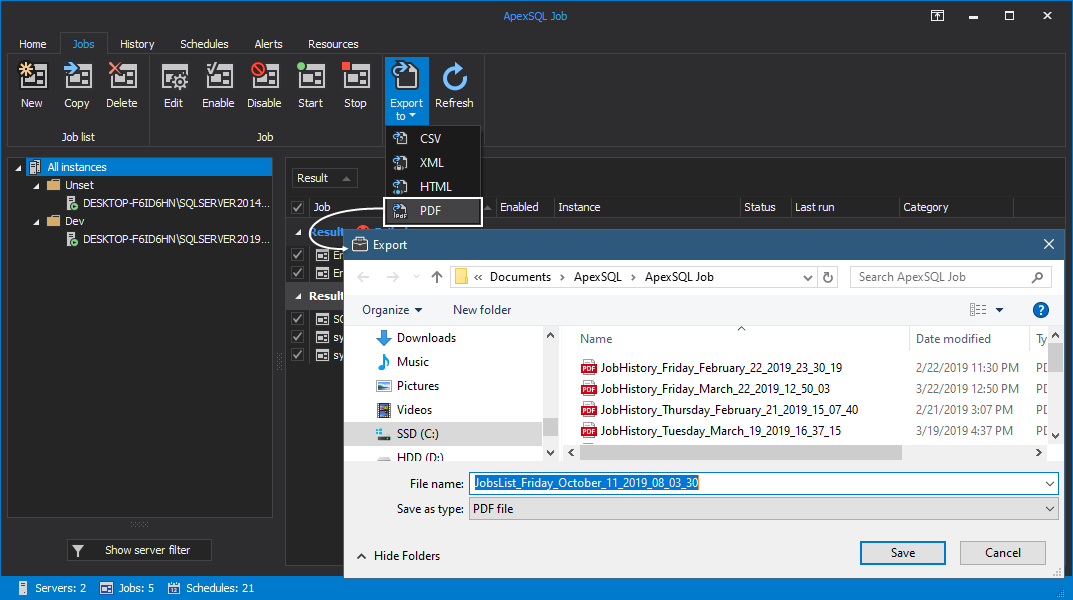
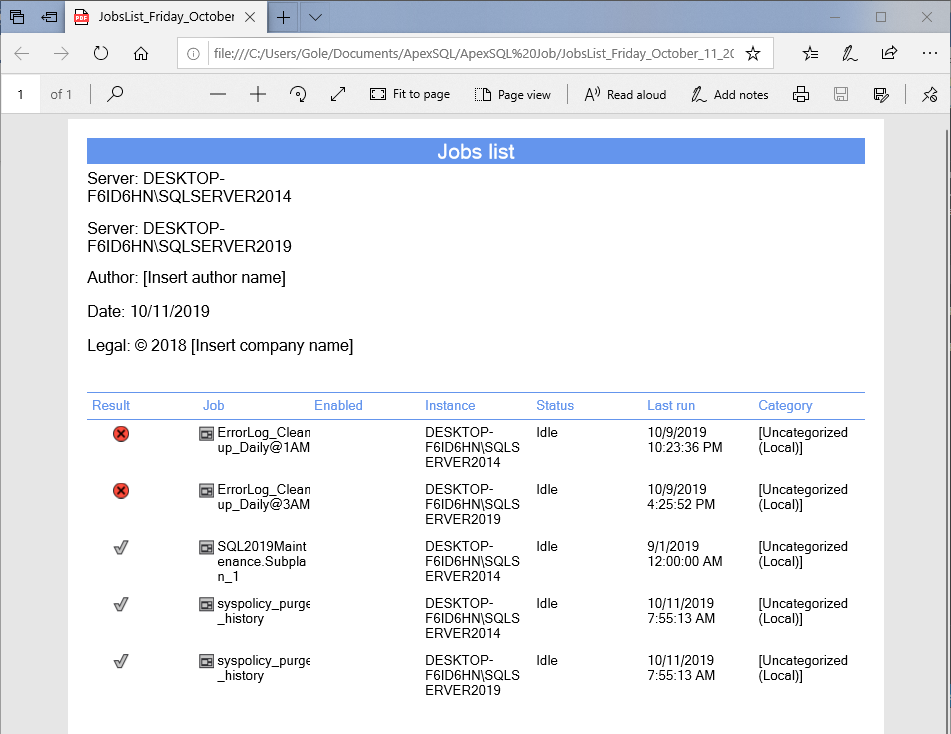
Immediately upon saving the file, you will be asked to open it. The end result will look like this:
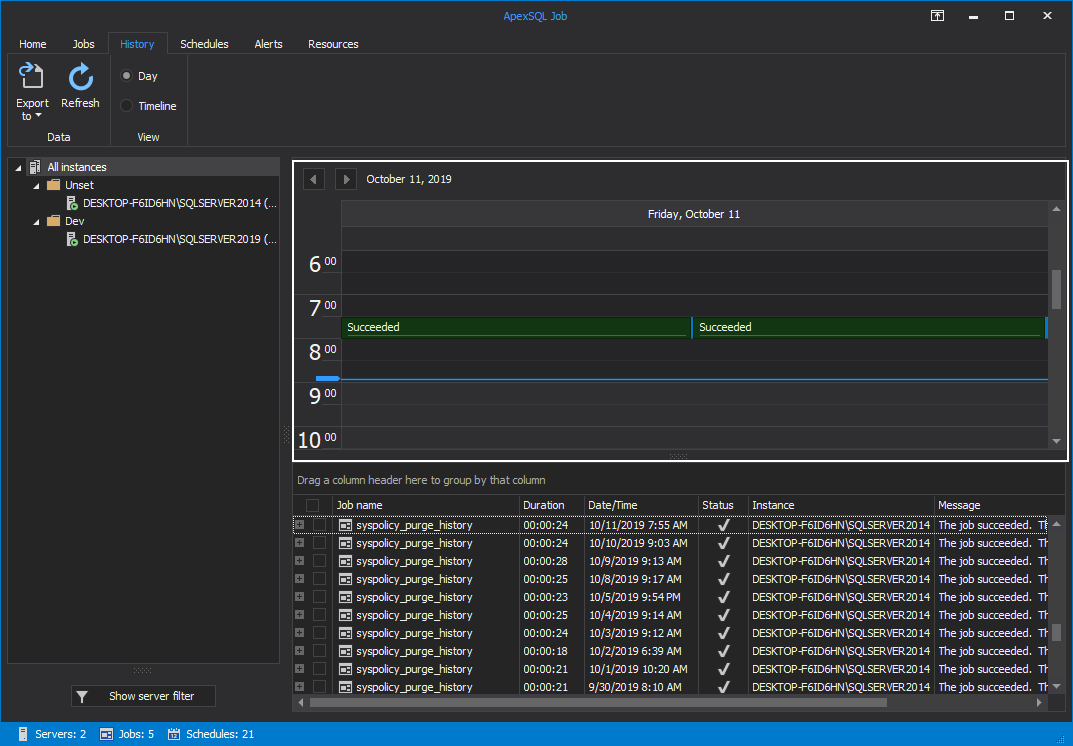
By entering the History tab, you can view a detailed execution history of the scheduled SQL Agent jobs for all the SQL Server instances:
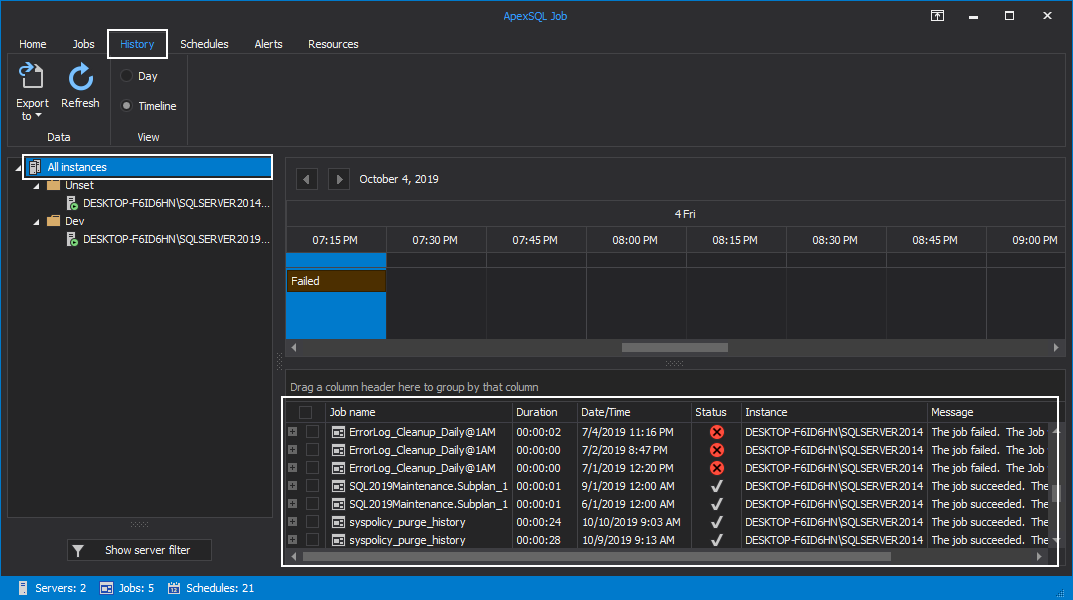
The results summary of the scheduled SQL Agent jobs is displayed in horizontal time intervals for the day, with the ability to move between days by using the top arrows:
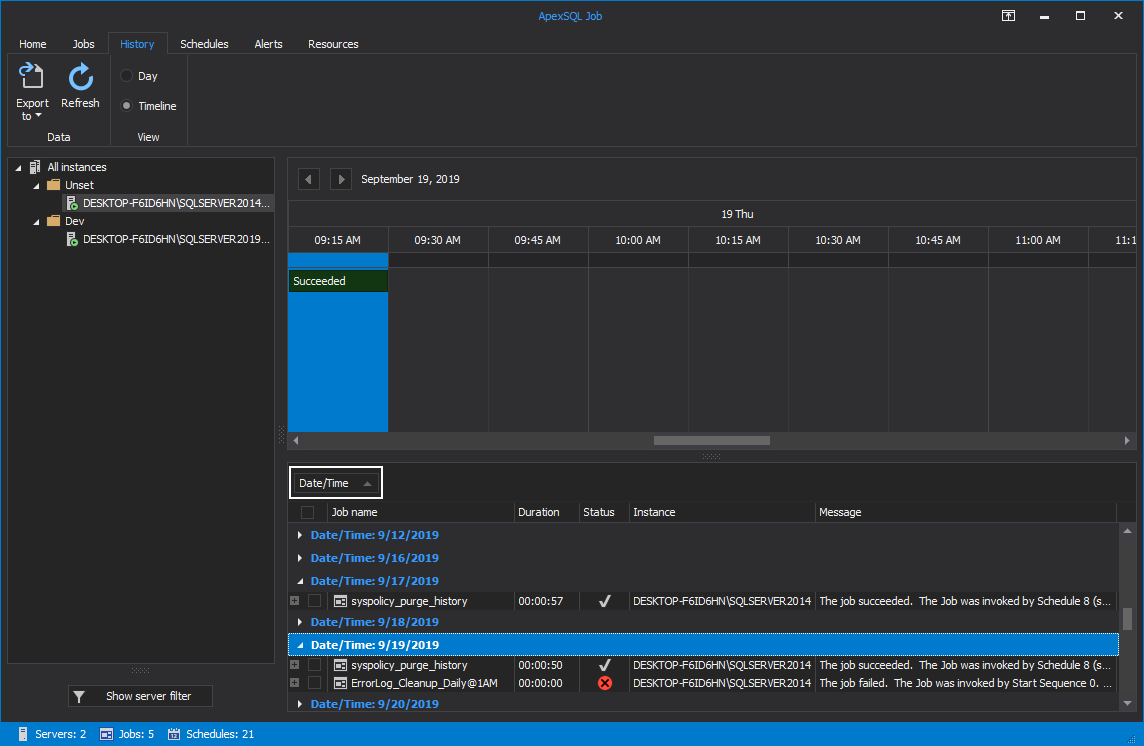
You can hover the mouse over the timeline to get the start and end time of any job from the grid:

Changing the View from Timeline to Day changes the summary view of the scheduled SQL Agent jobs to vertical time intervals for the day:
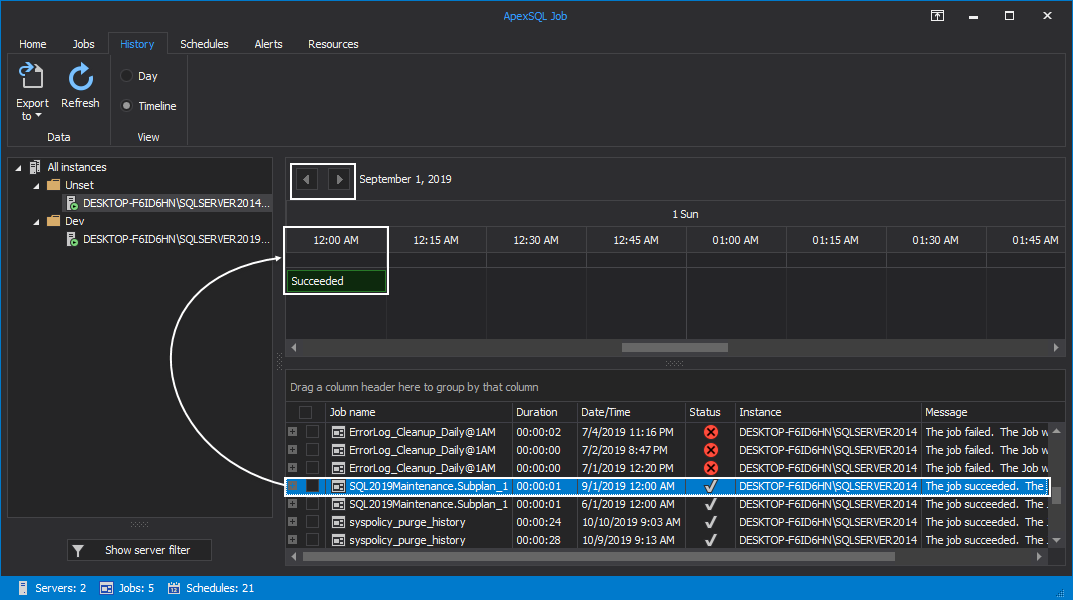
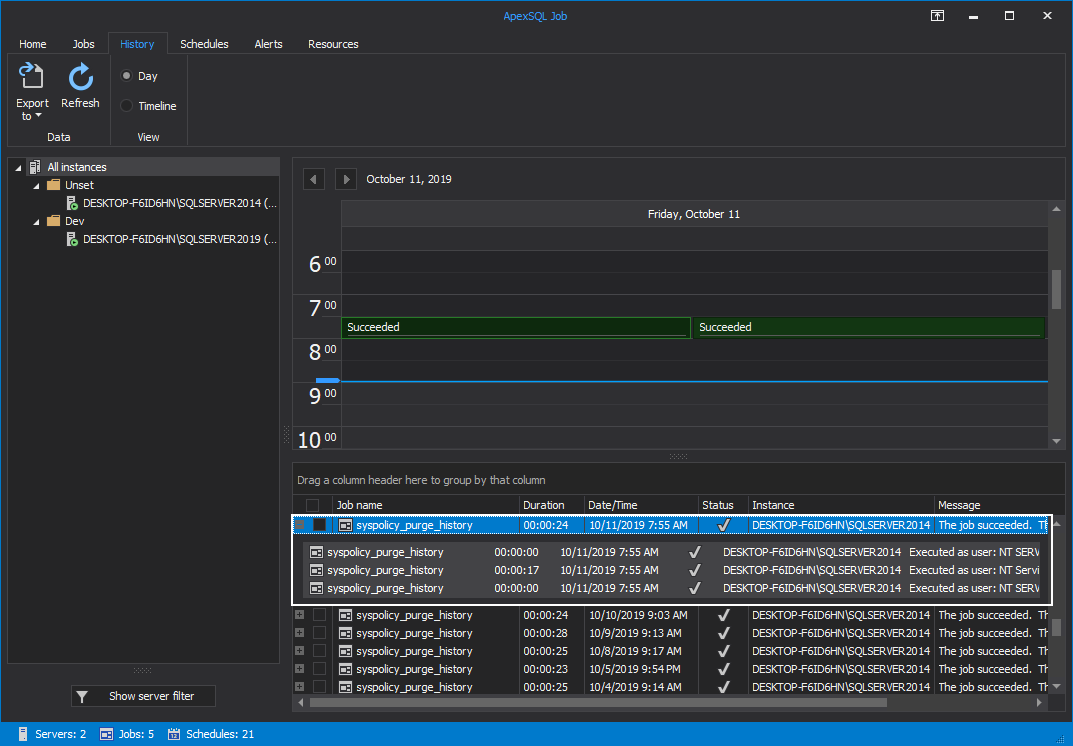
In addition to the detailed information about the job execution, ApexSQL Job provides you with the ability to display the execution result for all the steps executed within the selected job:
For a more convenient job execution results overview, you can group the data by the Date/Time grid column. To do so, drag and drop the Date/Time column into the group area:
Again, all the jobs execution result data can be easily exported to any of the file formats previously mentioned in a similar manner:
Thanks for watching! For more information, please visit apexsql.com


