


In this article, we will do an overview of the main features of the ApexSQL Doc for MySQL.
Transcript
Hello and welcome to ApexSQL Doc for MySQL demo introduction video in which we will introduce how to use this documenting tool for MySQL databases.
The MySQL database documentation tool consists of two main components.
The first one is a standalone Windows application.
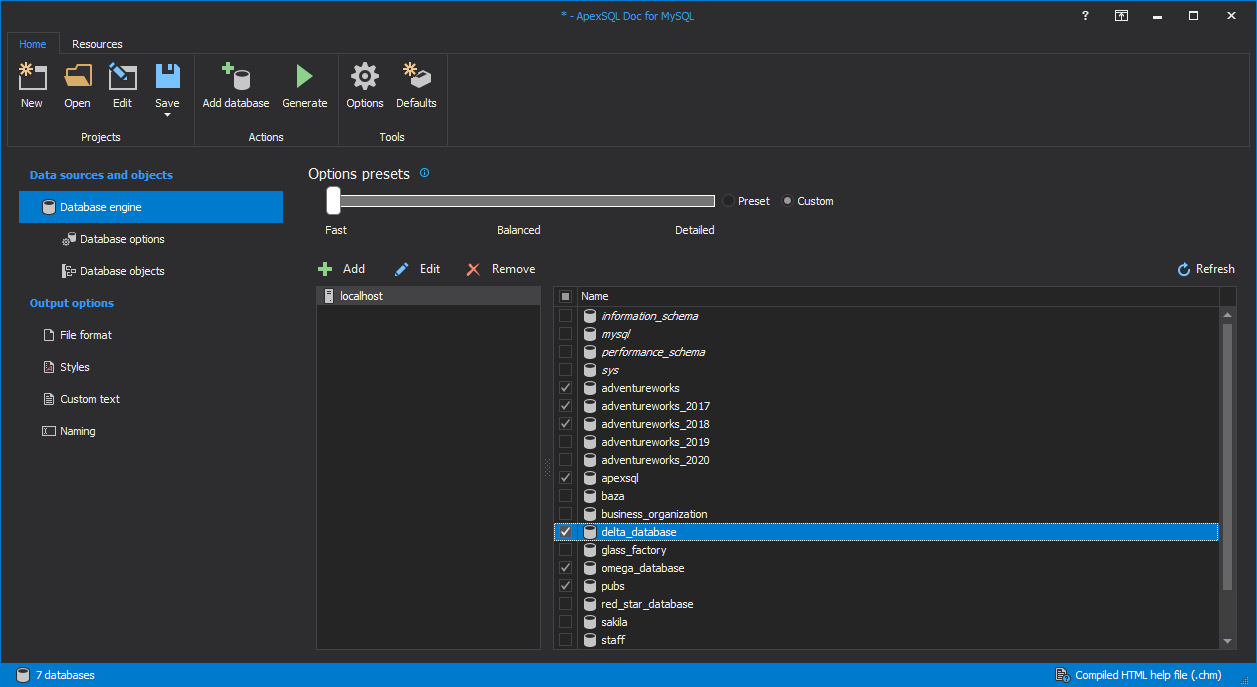
In the standalone application database developer can manually select which database objects and options should be included in the documentation process and documentation output can be customized:
The second one is a console application with a command-line interface also known as CLI, which allows database developer to run the documentation process automatically and unattended:

In the process of creating documentation using the MySQL database documentation tool, the first step is to establish a connection to the desired server. To do that, click on the Add database button from the Home tab.
When the Connection dialog appears, fill in the needed details for connecting to the server, then click the Connect button:
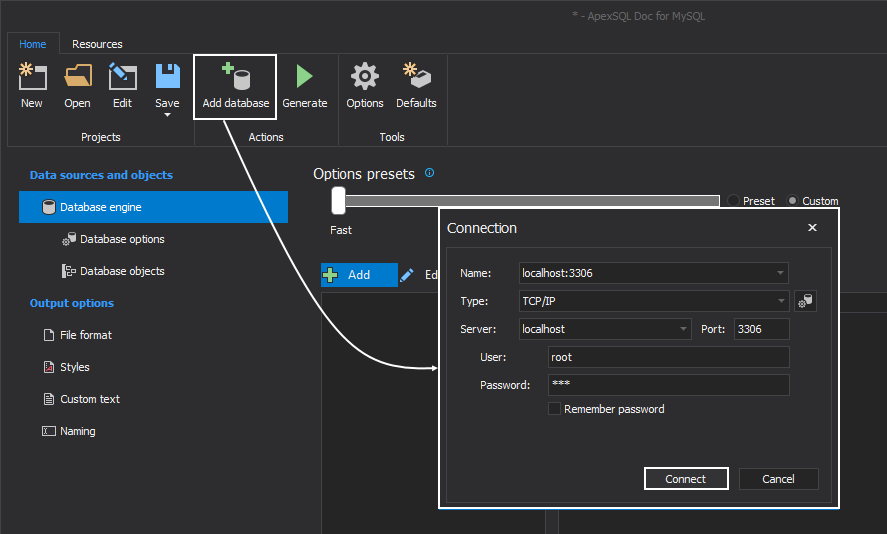
When it comes to connecting to the MySQL Server, it should be noted that ApexSQL Doc for MySQL supports TCP/IP, Named pipe, SSL and SSH protocols.
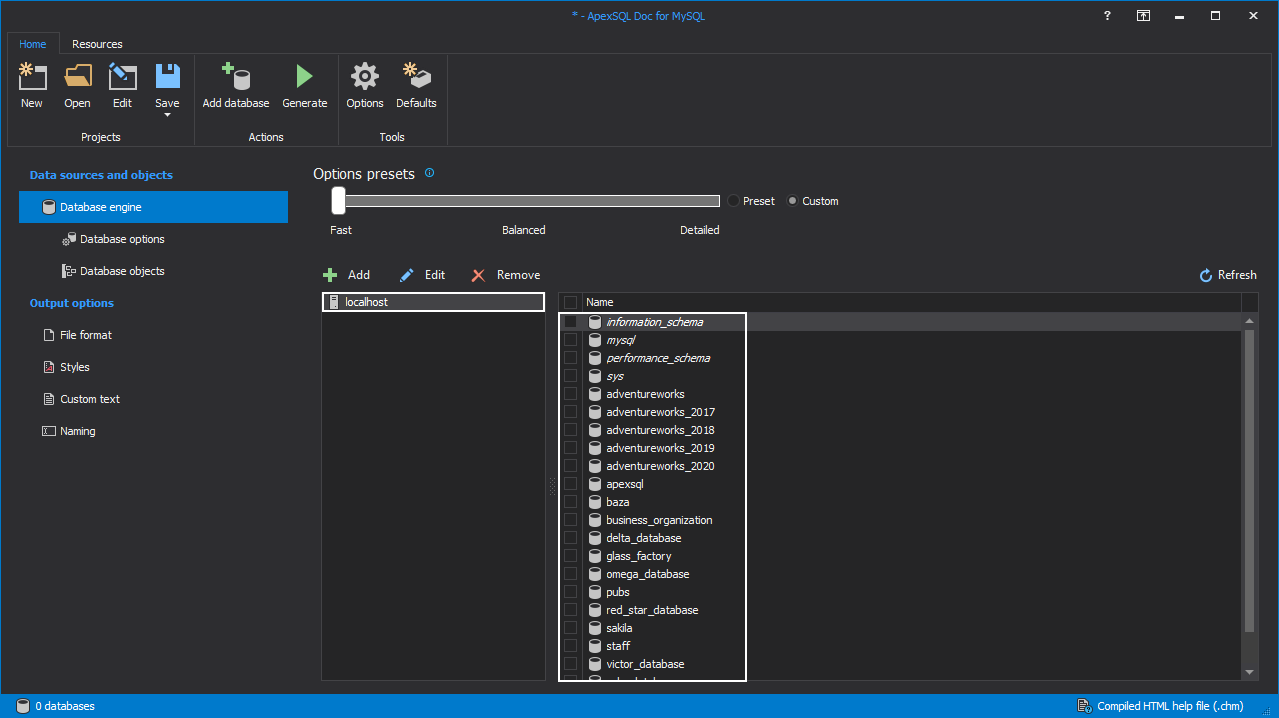
After the connection to the server is established, the list of servers and the list of databases will be shown in the separated sections:
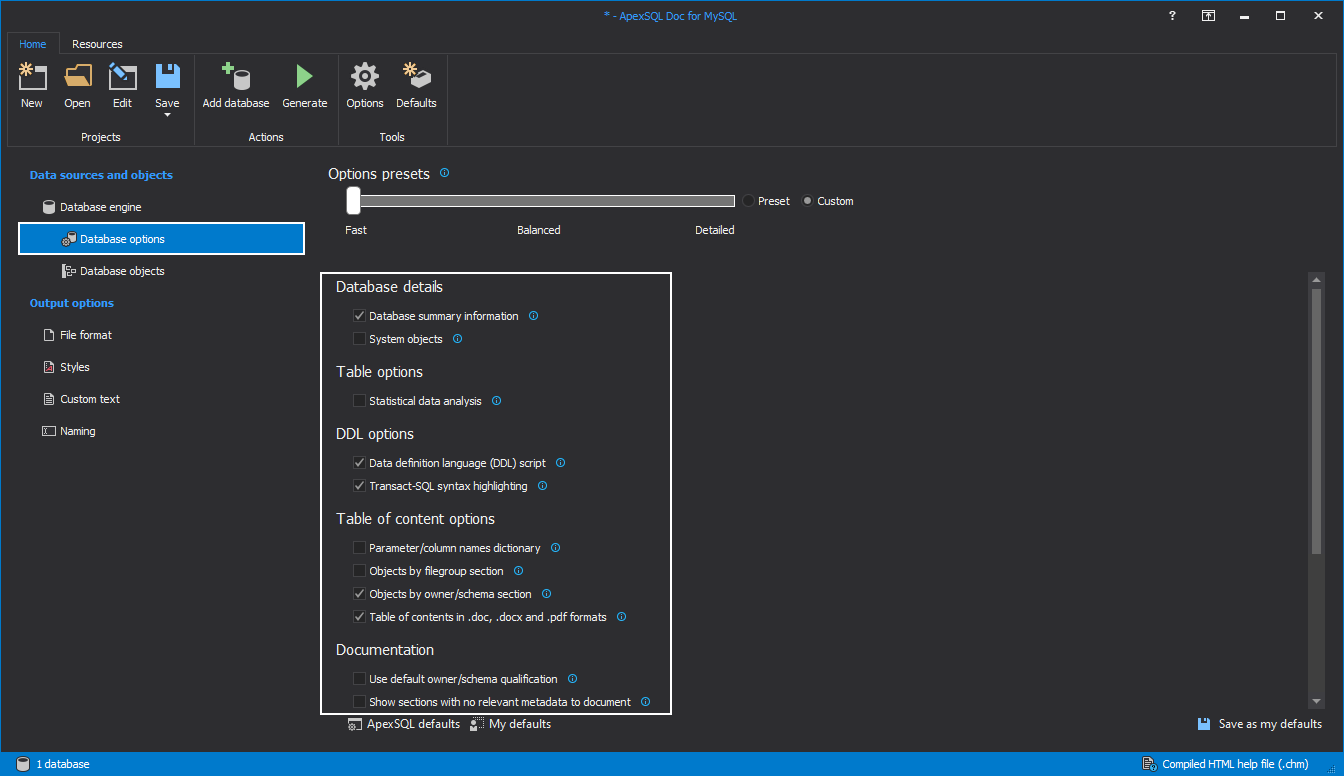
Since the desired database for the documentation is selected, with a click on the Database options tab, the database developer can select which database settings or database options should be included in the documentation:
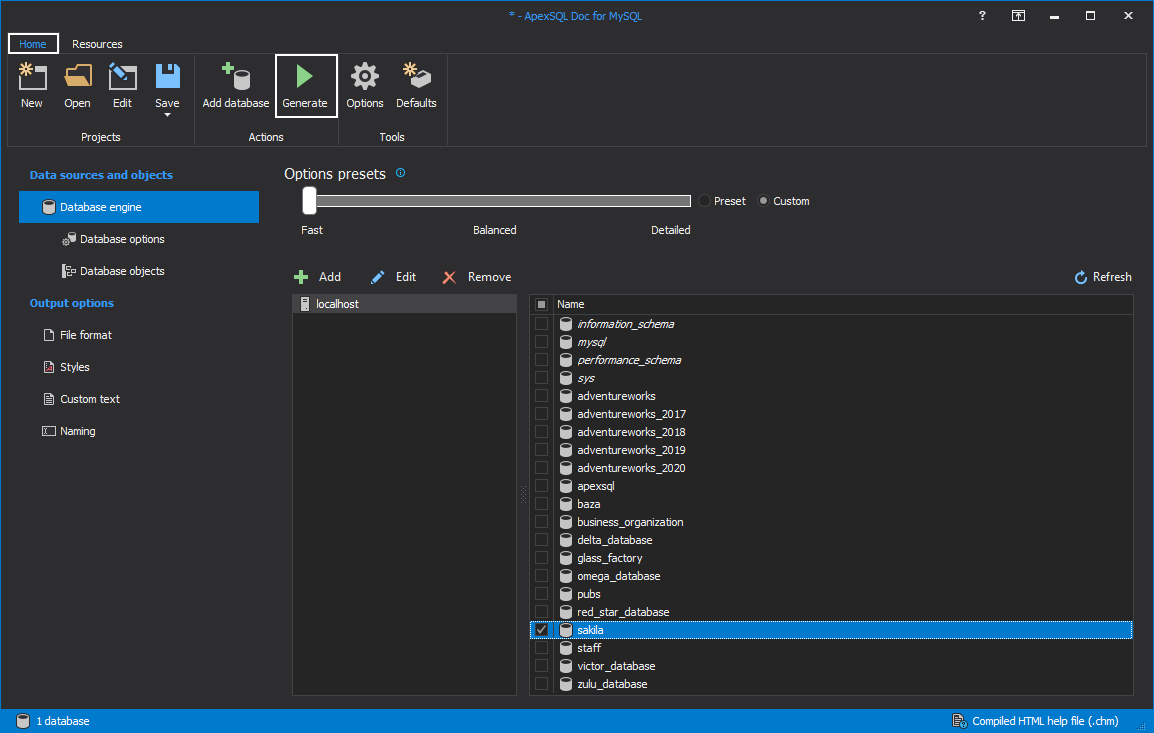
With a click on the Database objects tab, the list of all database object types will be shown in the middle of the main window. By default, all database object types will be checked:
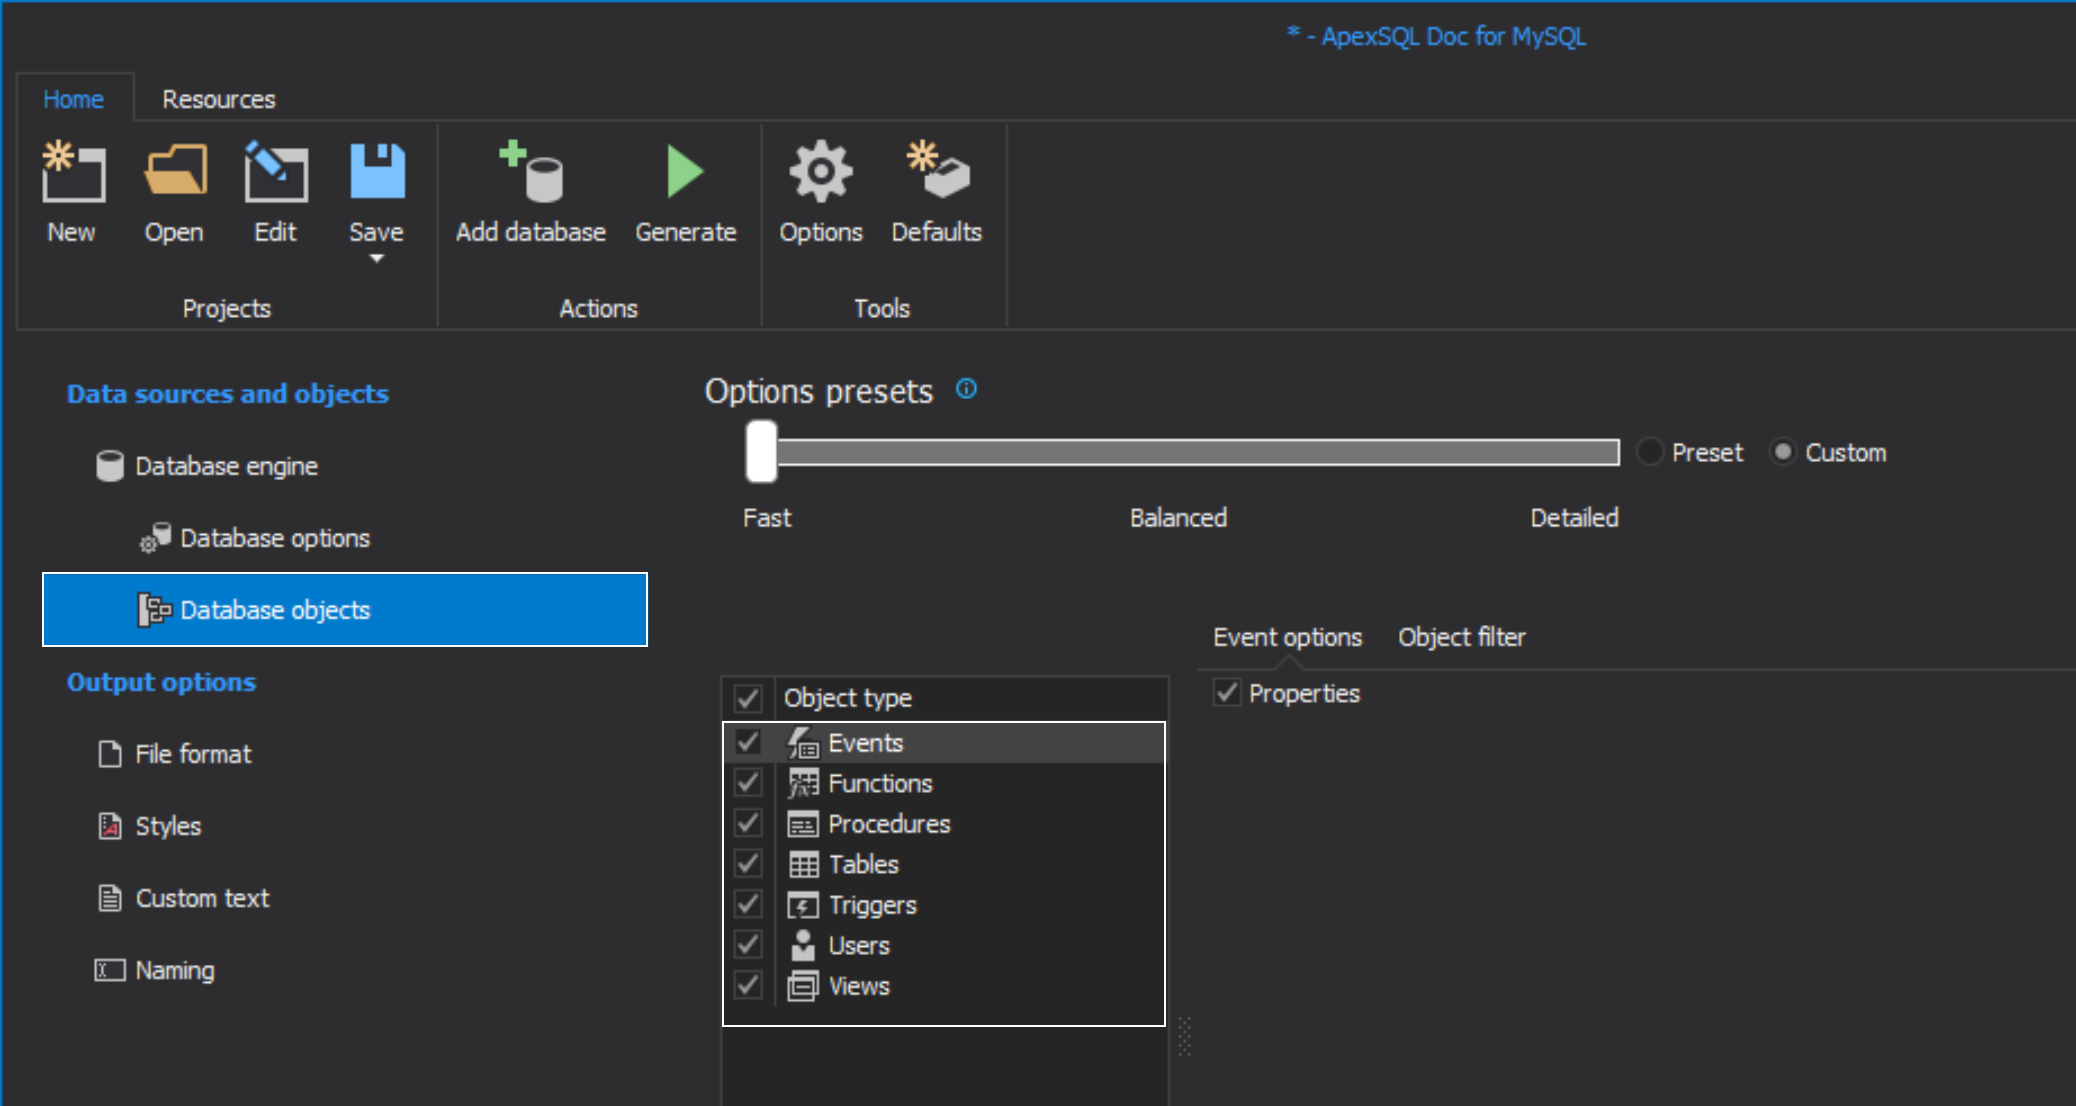
When desired object types are selected, the next step is to select which options for the selected object type should be documented.
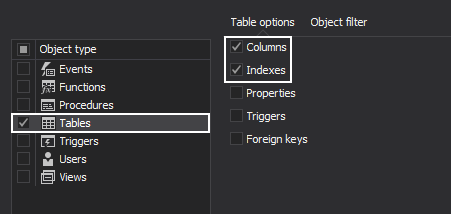
For example, available Table options for the documentation are Columns, Indexes, Properties, Triggers, and Foreign keys. Here, a database developer can select only needed table options, in our case, it will be Columns and Indexes. In this way, the process of generating documentation will be faster, and the documentation will be much easier to read:
In the Object filter grid, all objects from the selected object type will be shown. In this example it will be tables. Here, we can include or exclude objects from the documentation by checking/unchecking objects checkboxes:

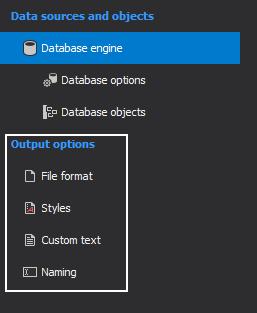
Under the Output options section, we can find options for customizing how documentation will look like organized under four tabs:
1) File format
2) Styles
3) Custom text
4) Naming
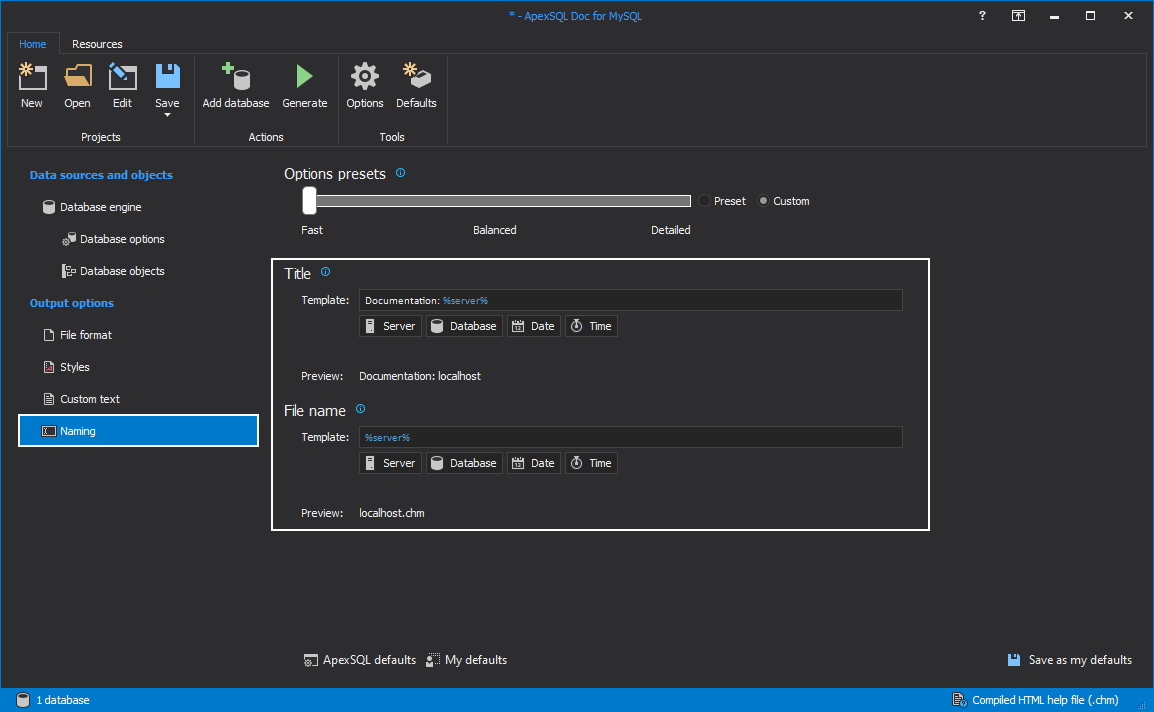
Under the Naming tab, the Title and File name can be defined:
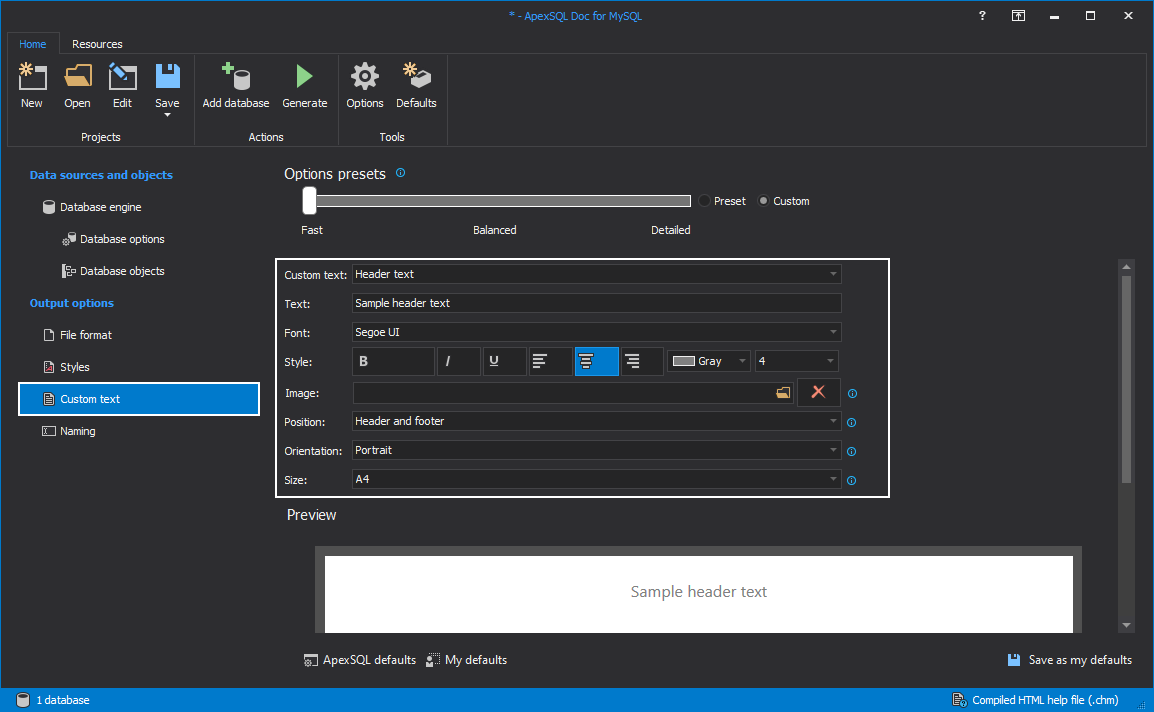
The customizing of Text, Font, Style, etc. can be done under the Custom text tab:
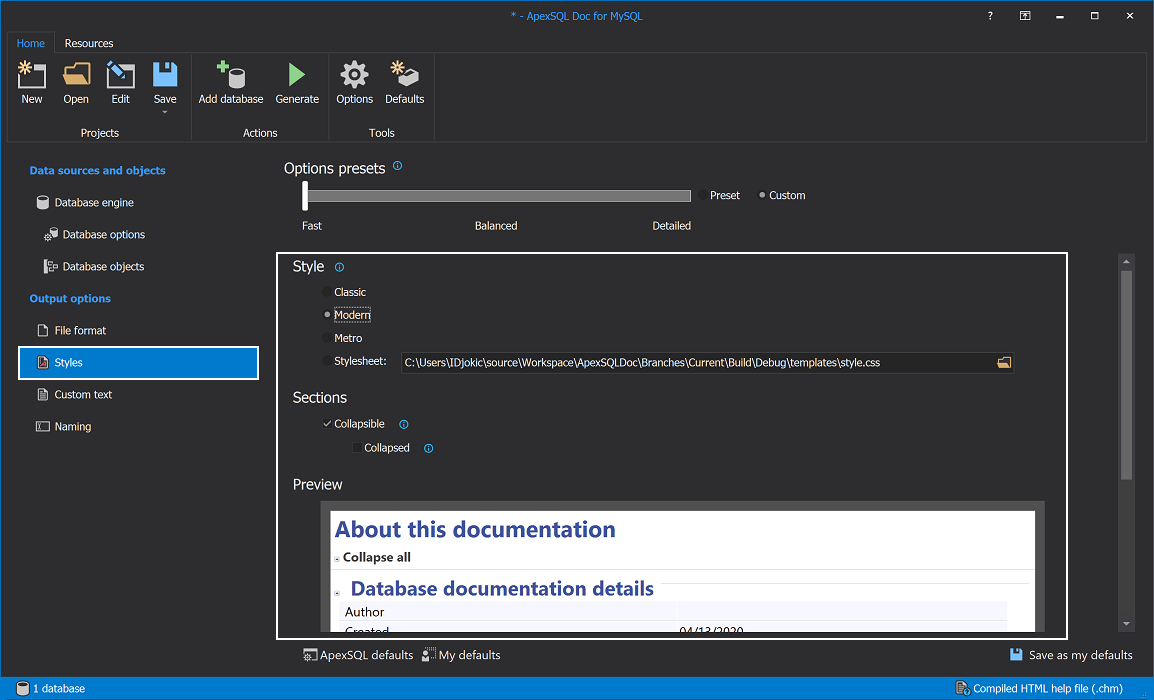
The Style of the documentation can be defined under the Styles tab.
Available styles are Classic, Metro and Modern. An example of selected style and how the documentation will look like, will be shown at the bottom of the MySQL documentation tool:
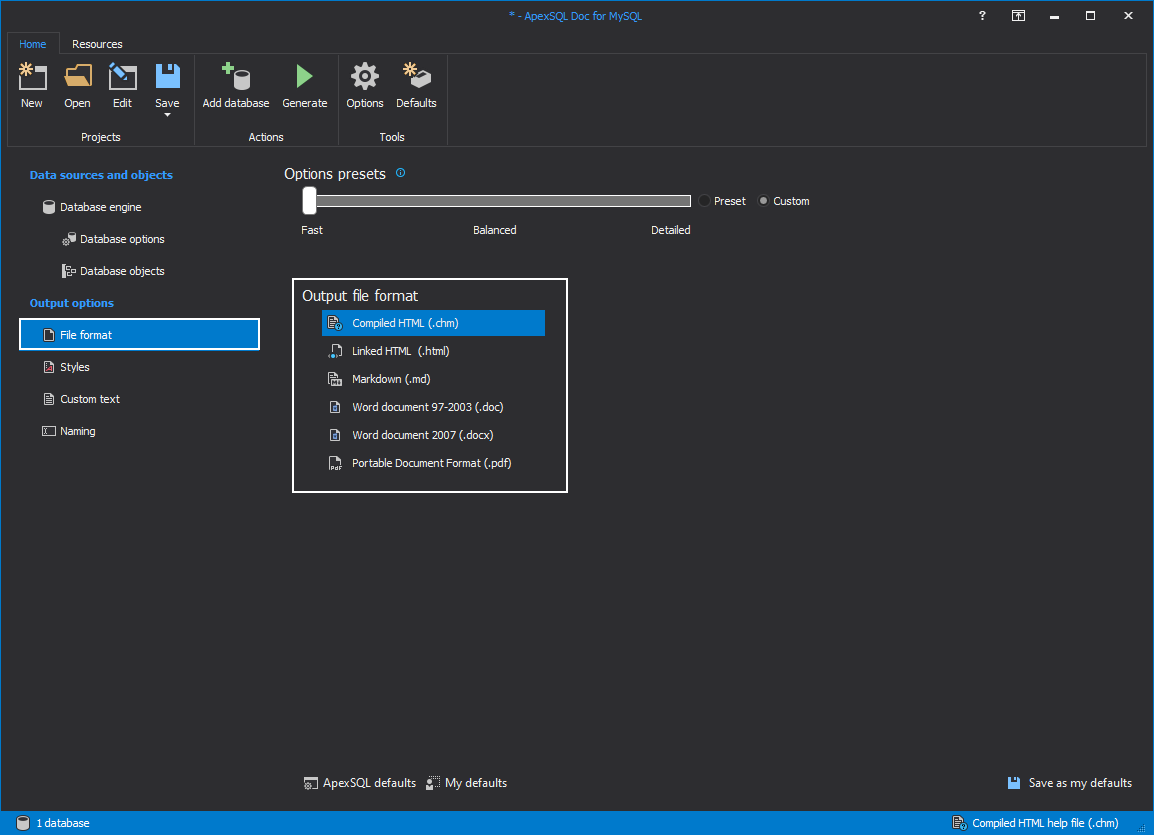
Under the File Format tab, we can find a list of six supported output file formats CHM, HTML, MARKDOWN, DOC, DOCX and PDF. In this example, the CHM output file format is selected:
When the database options and objects are selected and the look of the documentation is customized, the final step is to generate the documentation. This can be done with a click on the Generate button from the Home tab:
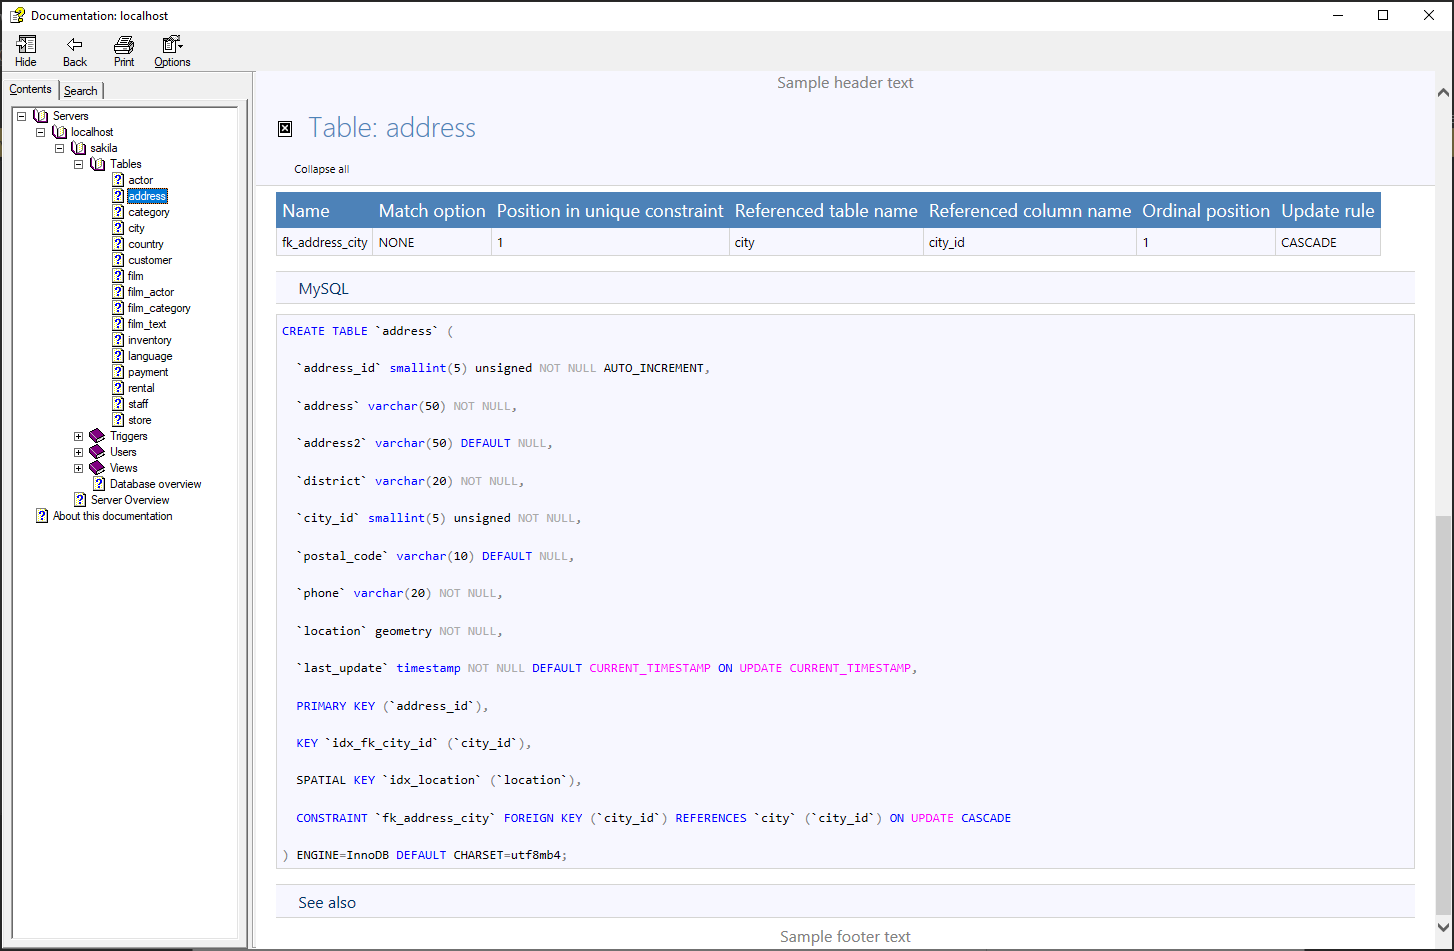
Here’s an example of how the generated documentation looks like in the CHM output file format:
For more information, visit ApexSQL.com


